Pixijs-Gsap 实现明日方舟粒子动画
上一篇文章 Webgl 明日方舟官网
这篇文章作为上一篇文章的补充
背景
| 序号 | 粉丝留言 |
|---|---|
| 1 | 明日方舟动画实现 |
| 2 | 说 Pixijs 使用有难度 |
文档
| 序号 | 名称 | 摘要 | npm url | 官网 |
|---|---|---|---|---|
| 1 | pixijs 官方网站 | 2d 渲染库 | https://www.npmjs.com/package/pixijs | https://pixijs.com/ |
| 2 | gsap 官网 | 动画库 | https://www.npmjs.com/package/gsap | https://greensock.com/docs/v3/GSAP/gsap.to() |
效果展示
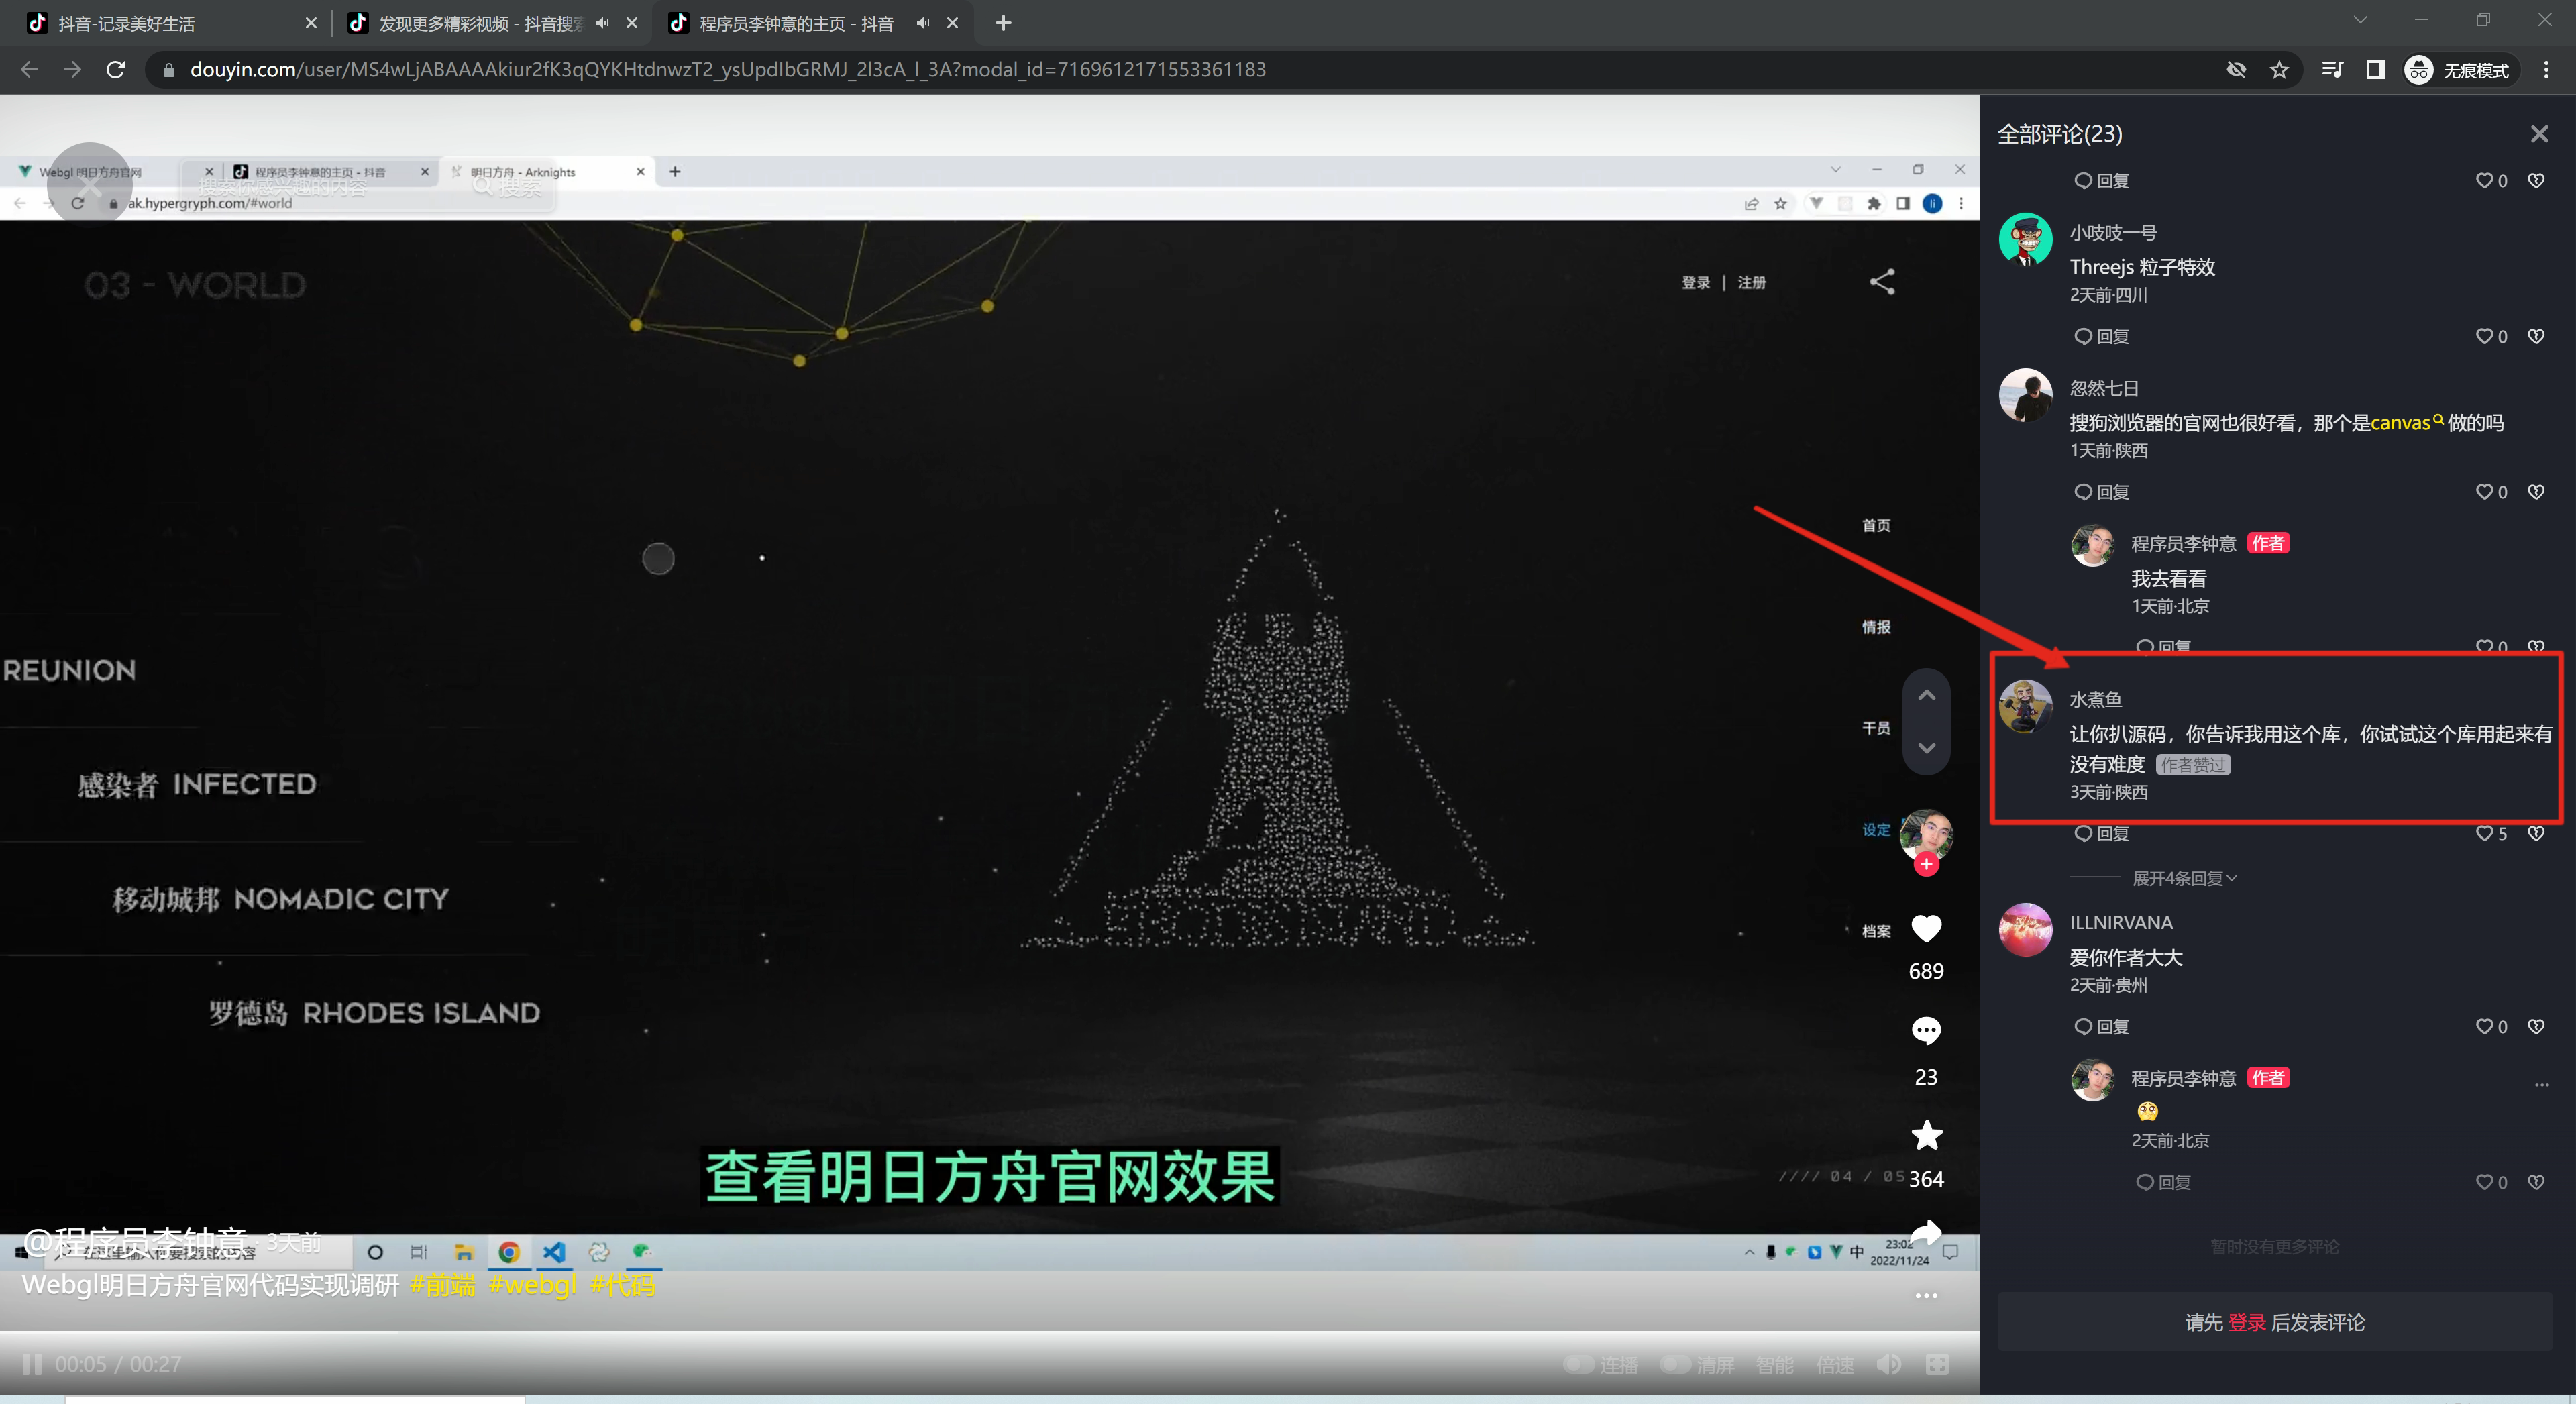
明日方舟官网 https://ak.hypergryph.com/#information
模仿明月方舟粒子效果 - 在线预览 /examples/pixijs-gsap/index.html
获取坐标
扒源码
这里是模仿所以就使用别人已经获取到的坐标
| 序号 | 步骤 | |
|---|---|---|
| 1 | https://ak.hypergryph.com/#information | 打开官网 |
| 2 | 找到与之交互的 DOM -选中 | |
| 3 | 控制台查看 EventListener | |
| 4 | 点开源码 js 文件 - 进入 sources | |
| 5 | js 文件 鼠标右键 - Save as | 把文件下载本地 |
| 6 | 文件格式化 sublime - vscode 会卡死 | |
| 7 | vscode 打开查找关键字 大地被起因不明 | |
| 8 | 发现会引用 story-1.data.json | |
| 9 | 查找 story-1.data.json 关联一个数字 id 7592 | |
| 10 | 查找 7592 - 对应的就是点的坐标 拷贝下来 |
根据图片获取
我觉得看下面的文章就可以,看不懂的可以留言
产品经理:你能不能用 div 给我画条龙? https://juejin.cn/post/6963476650356916254
Pixijs
Pixijs 介绍
根据坐标,渲染粒子效果
Pixijs 使用到的 API
| 序号 | API | 作用 | 备注 |
|---|---|---|---|
| 1 | PIXI.Application | 创建一个 PIXI 应用实例 | |
| 2 | app.stage.addChild | 舞台 | 所有的容器需要添加到舞台中 |
| 3 | PIXI.Container | 容器管理所有的点 | particleContainer.addChild |
| 4 | PIXI.Graphics | 绘制坐标点 | gr.clear() 方法 |
Gsap
Gsap 介绍
动画库 - 让粒子动起来
Gsap 使用到的 API
| 序号 | API | 备注 |
|---|---|---|
| 1 | gsap.to | js 动画 、ease: 'power4.out' |
完整代码
可以点击打开 拷贝到本地
/examples/pixijs-gsap/story1.js
/examples/pixijs-gsap/story2.js
/examples/pixijs-gsap/story3.js
/examples/pixijs-gsap/story4.js
模仿明月方舟粒子效果 - 在线预览 /examples/pixijs-gsap/index.html
html js 代码
html
<!DOCTYPE html>
<html lang="en">
  <head>
    <meta charset="UTF-8" />
    <meta http-equiv="X-UA-Compatible" content="IE=edge" />
    <meta name="viewport" content="width=device-width, initial-scale=1.0" />
    <title>Pixijs-Gsap 实现明月方舟粒子动画 - 程序员李钟意</title>
    <style>
      html,
      body {
        padding: 0;
        margin: 0;
        background-color: #1f1f1f;
      }
      #app,
      body {
        width: 100%;
        height: 100%;
      }

      canvas {
        display: block;
        margin: 0 auto;
      }
    </style>
  </head>
  <body>
    <div id="app"></div>
    <script src="story1.js"></script>
    <script src="story2.js"></script>
    <script src="story3.js"></script>
    <script src="story4.js"></script>
    <script src="story5.js"></script>
    <script src="https://cdn.jsdelivr.net/npm/pixi.js@7.0.4/dist/pixi.min.js"></script>
    <script src="https://cdnjs.cloudflare.com/ajax/libs/gsap/3.10.4/gsap.min.js"></script>

    <script>
      console.log('story1', story1);
      console.log('story2', story2);
      main();

      async function main() {
        const app = new PIXI.Application({
          width: window.innerWidth, // 画布的大小
          height: window.innerHeight, // 画布的大小
          useContextAlpha: 'notMultiplied',
          backgroundColor: 0x1f1f1f, // 画布背景色
          resizeTo: window // 画布大小跟随屏幕大小
        });

        // #region 创建粒子
        // 所有粒子都放到这个容器
        const particleContainer = new PIXI.Container();

        // 把粒子到舞台上
        app.stage.addChild(particleContainer);

        async function loop(particles = []) {
          for (const item of [story1, story2, story3, story4, story5]) {
            // 如果当前的粒子数量少于上一次的粒子数量
            // 清理掉多余的粒子
            let oldParticles = particles;
            if (item.count < particles.length) {
              oldParticles = particles.slice(0, item.count);
              particles.slice(item.count).forEach((pItem) => {
                pItem.gr.clear();
              });
            }

            particles = createParticles(particleContainer, item, oldParticles);
            resize();
            await new Promise((resolve) => setTimeout(resolve, 2000));
          }
          loop(particles);
        }
        loop();

        function resize() {
          // 修改容器位置
          particleContainer.x = window.innerWidth / 2 - particleContainer.width / 2;
          particleContainer.y = window.innerHeight / 2 - particleContainer.width / 2;
        }

        window.addEventListener('resize', resize);
        resize();

        function createParticles(particleContainer, newValue = [], oldParticles) {
          // 管理粒子数组
          let particles = [];
          let colors = [0x9f9f9f, 0x464646, 0x202020, 0x1c1c1c, 0x4b4b4b];

          for (let index = 0; index < newValue.count; index++) {
            // 创建粒子
            const oldPoint = oldParticles[index];

            let gr;
            if (oldPoint) {
              gr = oldPoint.gr;
            } else {
              gr = createPoint(colors, index);

              // 添加到容器中
              particleContainer.addChild(gr);
            }

            // 给定乱序的坐标
            gr.x = Math.random() * newValue.size.width;
            gr.y = Math.random() * newValue.size.height;

            // 添加到容器中
            // 缓存粒子
            const point = newValue.points[index];
            particles.push({gr, x: point[0], y: point[1]});
          }

          // gsap实现动画效果
          for (let i = 0; i < newValue.count; i++) {
            const pItem = particles[i];
            gsap.to(pItem.gr, {
              duration: 2, // 动画持续时间
              x: pItem.x,
              y: pItem.y,
              ease: 'power4.out'
            });
          }

          return particles;
        }

        // 创建点
        function createPoint(colors, index) {
          // PIXI绘图API创建图形, 和canvas2的绘图api很像
          const gr = new PIXI.Graphics();
          // 创建的粒子添加颜色
          gr.beginFill(index % 3 !== 0 ? colors[0] : colors[Math.floor(Math.random() * colors.length)]);
          // 创建小圆球
          gr.drawCircle(0, 0, 1);
          // 结束填充
          gr.endFill();

          return gr;
        }

        document.querySelector('#app').appendChild(app.view);
      }
    </script>
  </body>
</html>