electron 加载谷歌应用应用商店的插件方法
electron 加载 chrome line 插件
成功的效果演示
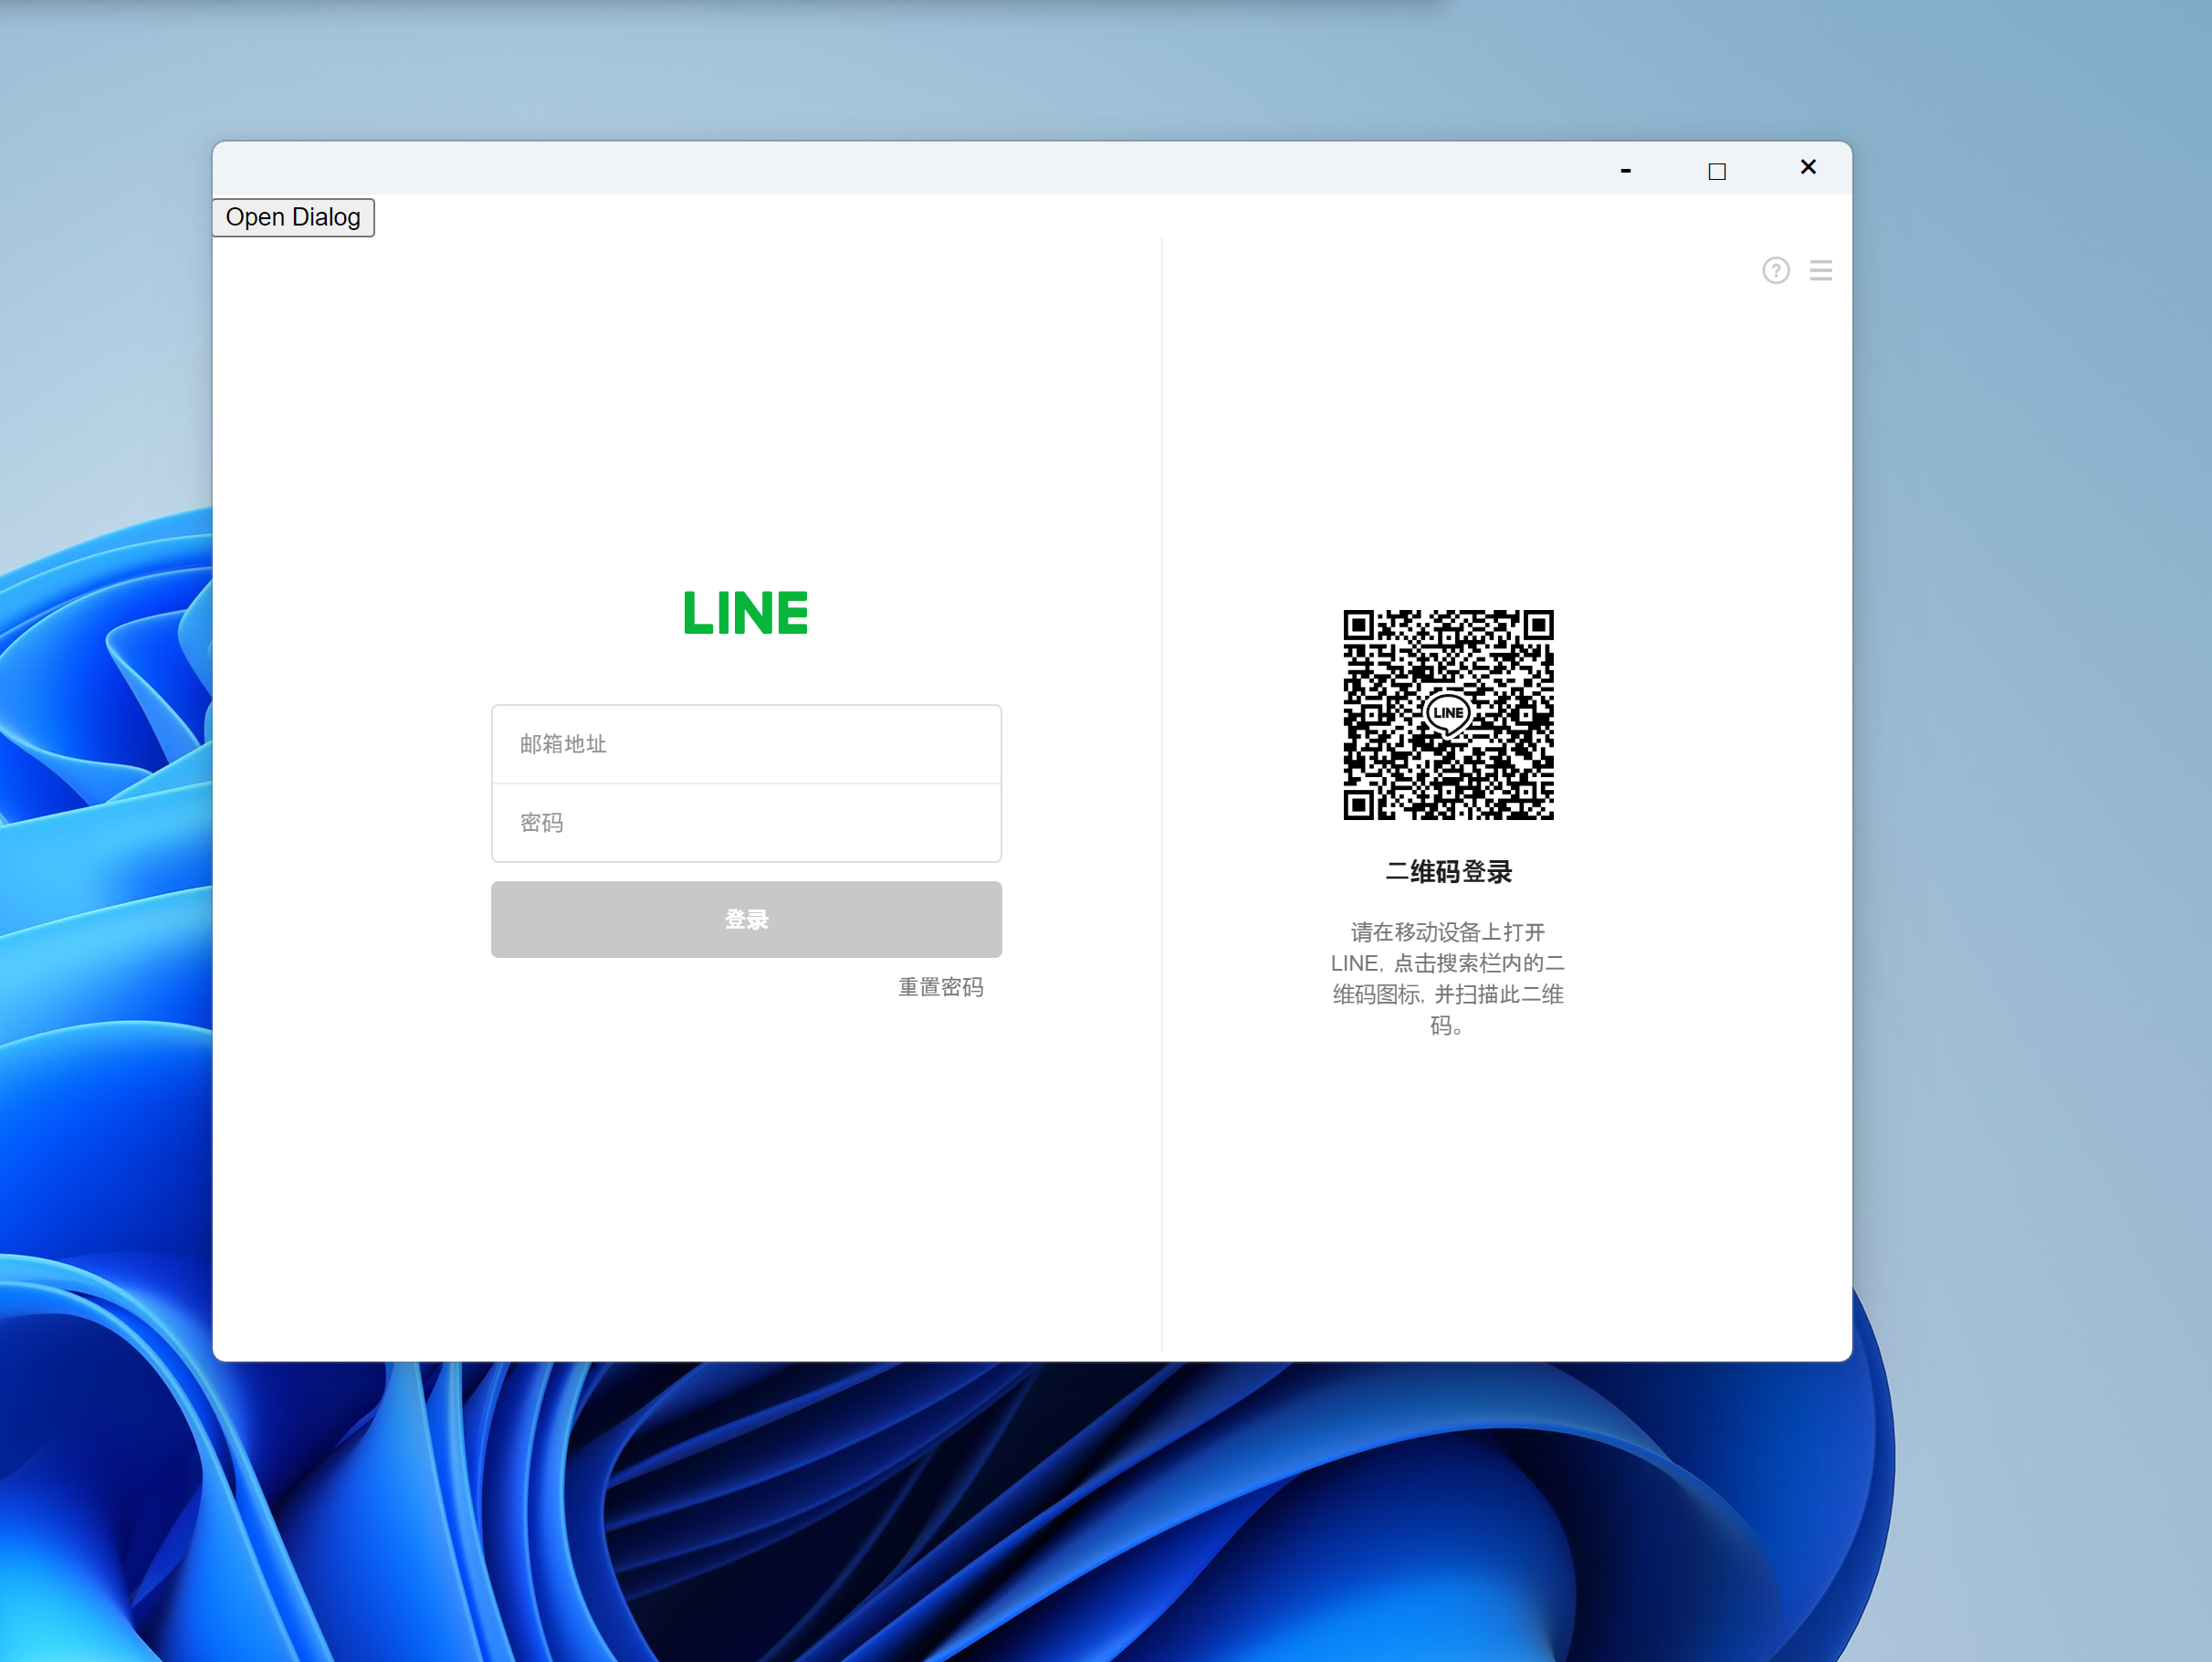
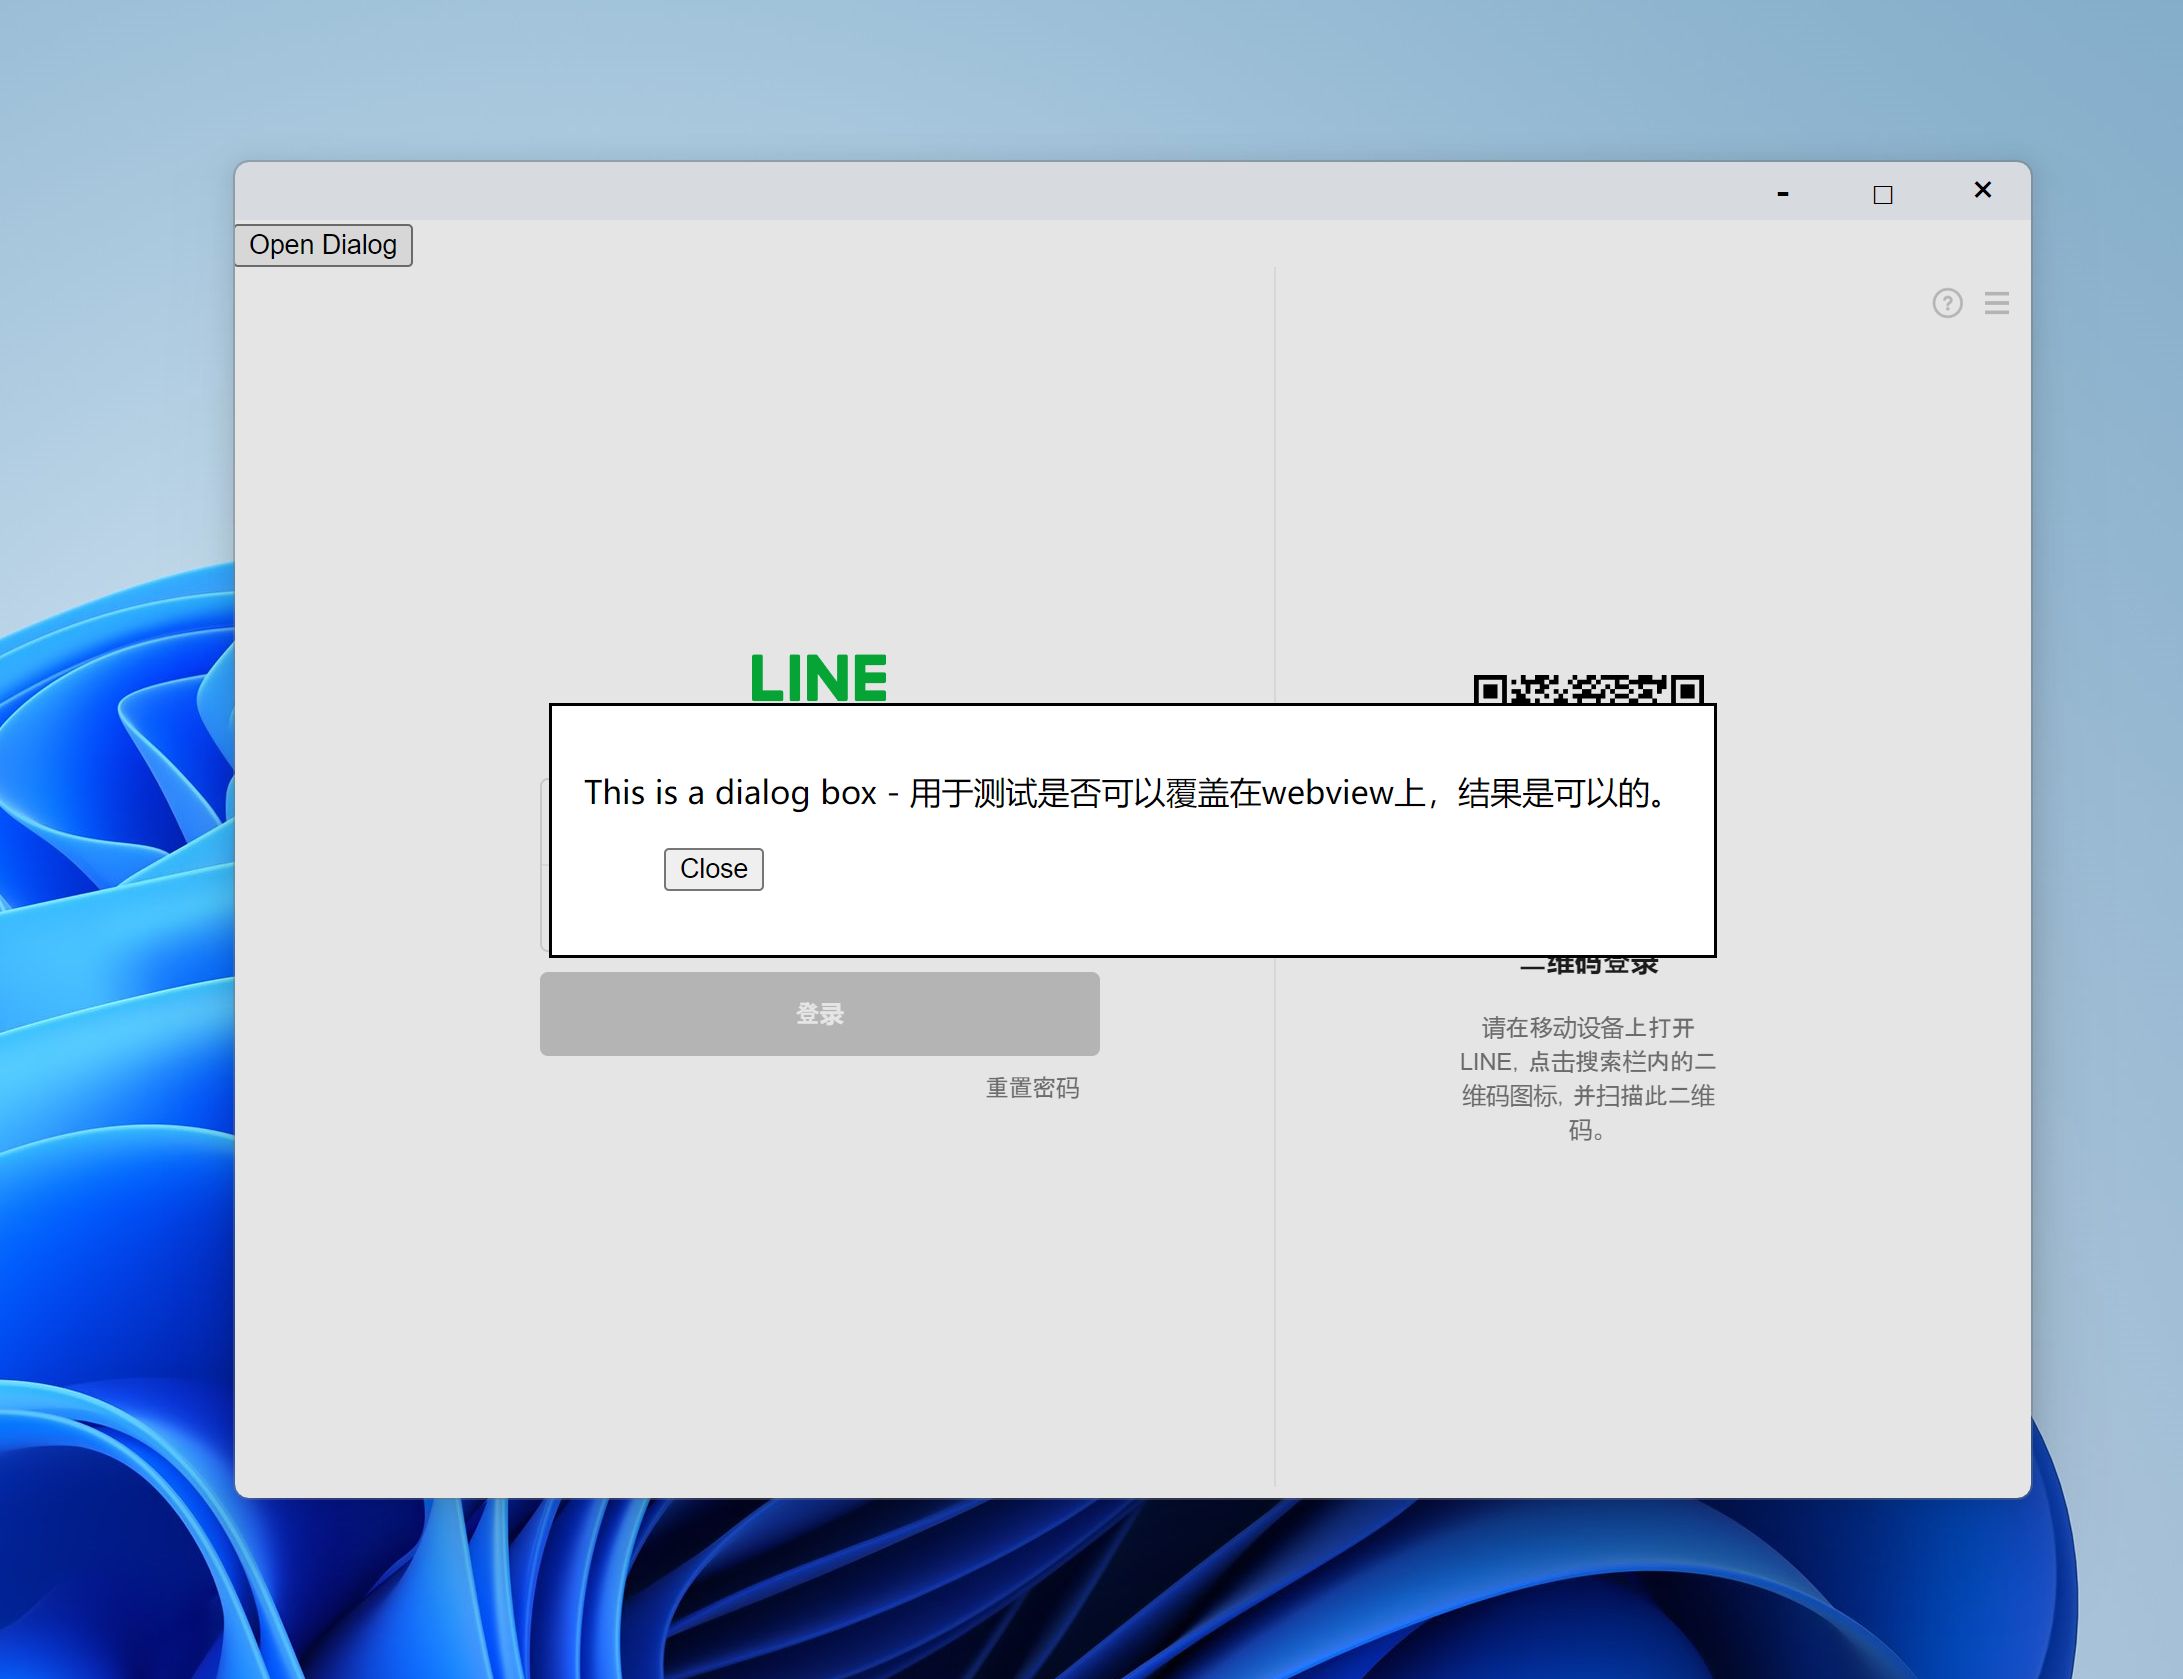
代码地址
- electron BrowerView 加载 chrome line 插件:https://gitee.com/fe521/electron-plugin-line
- electron webview 加载 chrome line 插件:https://gitee.com/fe521/electron-plugin-line-webview
提示
例子使用 electron-vite 编写,"electron": "^31.0.2",支持 Windows10/Windows11/Mac/Linux(Windows7 需要修改 electron 为 22 版本)
Electron 中加载插件的三种方式
在 Electron 中,您可以通过三种主要方式加载插件,分别是:
| 方式 | 适用场景 | 优点 | 缺点 |
|---|---|---|---|
| BrowserWindow | 1.创建独立的应用窗口 2.需要加载插件或外部网页的独立窗口 | 1.完整的独立窗口,支持最大化、最小化、关闭等操作 2.独立渲染进程,资源隔离好 | 1.资源开销较大 2.不适合在一个窗口中嵌入多个页面 |
| BrowserView | 1.在主窗口内嵌入多个独立操作的网页内容 2.更灵活的窗口布局控制 | 1.资源开销小,共享同一渲染进程 2.布局灵活,可嵌入多个视图 | 1.不具备完整的窗口操作功能 2.布局需要手动管理 3.其他的窗口 DOM 不能覆盖 |
| WebView | 1.嵌入外部网页并与内容进行深度交互 2.在同一窗口中显示多个独立 Web 内容 | 1.提供高级交互能力 2.支持沙盒模式,提高安全性 3.像 iframe 一样引入内容 | 1.性能较差,尤其是在大量嵌入时 2.需额外管理安全风险 |
electron-vite WebView 的方式引入 line 插件
1. 引入@electron/remote 模块
具体添加代码如下:
electron-vite-添加-electron-remote-模块
2. 主进程定义加载插件
src/main/index.js
import { app, shell, BrowserWindow, ipcMain, session } from "electron";
import { join } from "path";
import { electronApp, optimizer, is } from "@electron-toolkit/utils";
import icon from "../../resources/icon.png?asset";
import "./titlebar";
require("@electron/remote/main").initialize();
function createWindow() {
// Create the browser window.
const mainWindow = new BrowserWindow({
width: 900,
height: 670,
show: false,
frame: false,
autoHideMenuBar: true,
...(process.platform === "linux" ? { icon } : {}),
webPreferences: {
preload: join(__dirname, "../preload/index.js"),
sandbox: false,
webviewTag: true,
webSecurity: false,
这个 session 会自动删除吗?还是需要手动处理
在 Electron 中,通过 session.fromPartition('persist:...') 创建的持久化会话(即带有 persist: 前缀的分区)是不会自动删除的。它们的生命周期与应用程序相同,数据会一直保存在分区中,即使你关闭并重新打开应用程序,该分区的数据仍然会被保留。
如果你需要删除这个持久化会话的缓存、cookie 或其他存储数据,你需要手动处理。你可以使用 session 对象的相关方法来清除数据,例如:
const current_session = session.fromPartition(
  "persist:electron:line:extension"
);

// 清除缓存
current_session.clearCache().then(() => {
  console.log("Cache cleared");
});

// 清除所有cookies
current_session.clearStorageData({ storages: ["cookies"] }).then(() => {
  console.log("Cookies cleared");
});

// 清除所有存储数据
current_session.clearStorageData().then(() => {
  console.log("Storage data cleared");
});
如果你希望完全删除这个分区的数据,包括所有的存储内容,你需要显式调用这些清除方法。否则,该分区的数据将一直保留,直到你手动清除或者用户手动删除应用数据。
persist:electron:line:extension 这个字符不一样就是不一样的 session 吗?
是的,persist:electron:line:extension 字符串中的内容不同,就会创建或获取不同的会话(session)分区。
在 Electron 中,session.fromPartition('partition_name') 方法的 partition_name 参数用于区分不同的会话分区:
- 如果
partition_name以persist:为前缀,它将创建或获取一个持久化的会话分区。不同的partition_name(即使只有一点点不同)会创建或获取完全独立的会话分区。 - 如果
partition_name没有persist:前缀,它将创建或获取一个非持久化的会话分区,这样的会话分区在应用程序关闭后会被自动删除。
例如:
session.fromPartition('persist:electron:line:extension')和session.fromPartition('persist:electron:line:extension-v2')将会创建或获取两个不同的持久化会话分区。- 每个会话分区都独立保存其缓存、cookie 和其他存储数据,互不干扰。
因此,如果你希望在应用中使用不同的会话上下文,只需要改变 partition_name 即可创建或获取不同的 session 对象。
3. 渲染进程加载 webview 插件
src/renderer/index/App.vue
<template>
  <div>
    <Titlebar />

    <div id="mainbox" style="width: 100vw; height: calc(100vh - 60px)"></div>
  </div>
</template>

<script setup>
import { onMounted } from "vue";
import Titlebar from "./components/Titlebar.vue";

onMounted(async () => {
  await new Promise((resolve) => setTimeout(resolve, 1000));
  await window.api.loadPlugin();

  // 创建webview
  const webview = document.createElement("webview");
  webview.id = "myWebview";
  webview.allowpopups = "true";
  webview.src =
    "chrome-extension://ophjlpahpchlmihnnnihgmmeilfjmjjc/index.html";

  const preloadPath = await window.api.getPreloadJsPath();
  const isDev = await window.api.isDev();

  console.log("[preloadPath]", preloadPath);
  // 注入 preload.js
  webview.setAttribute(
    "preload",
    // `file://C:/Users/Administrator/Desktop/electron-line-plugin-app/src/preload/fillChromeAPI.js`,
    `file://${preloadPath}`
  );

  webview.setAttribute("partition", `persist:electron:line:extension`);
  webview.setAttribute("nodeintegration", true);
  webview.setAttribute("nodeintegrationinsubframes", true);
  webview.setAttribute(
    "webpreferences",
    "allowRunningInsecureContent,contextIsolation=false"
  );
  webview.style.width = "100%";
  webview.style.height = "100%";
  document.getElementById("mainbox").append(webview);
  console.log(webview.partition);

  // 等待 dom-ready 事件触发后调用 loadURL
  webview.addEventListener("dom-ready", () => {
    console.log("Webview is ready");
    console.log(webview.partition);
    // 打开开发者工具
    isDev && webview.openDevTools();
  });
});
</script>

<style scoped></style>
提示
上面代码可以优化 使用 will-attach-webview 进行加载 preload.js
const preloadPath = await window.api.getPreloadJsPath();
const isDev = await window.api.isDev();

console.log("[preloadPath]", preloadPath);
// 注入 preload.js
webview.setAttribute(
  "preload",
  // `file://C:/Users/Administrator/Desktop/electron-line-plugin-app/src/preload/fillChromeAPI.js`,
  `file://${preloadPath}`
);
https://cn.electron-vite.org/guide/dev#webview
将预加载脚本附加到 webview 的最简单方法是通过 webContents 的 will-attach-webview 事件处理。
mainWindow.webContents.on("will-attach-webview", (e, webPreferences) => {
  webPreferences.preload = join(__dirname, "../preload/index.js");
});
更新插件(十分重要‼️)
提示“有需要更新的内容,请更新后再使用”
如果 line 出现下面的提示“有需要更新的内容,请更新后再使用”,请按照下面的方式更新插件即可
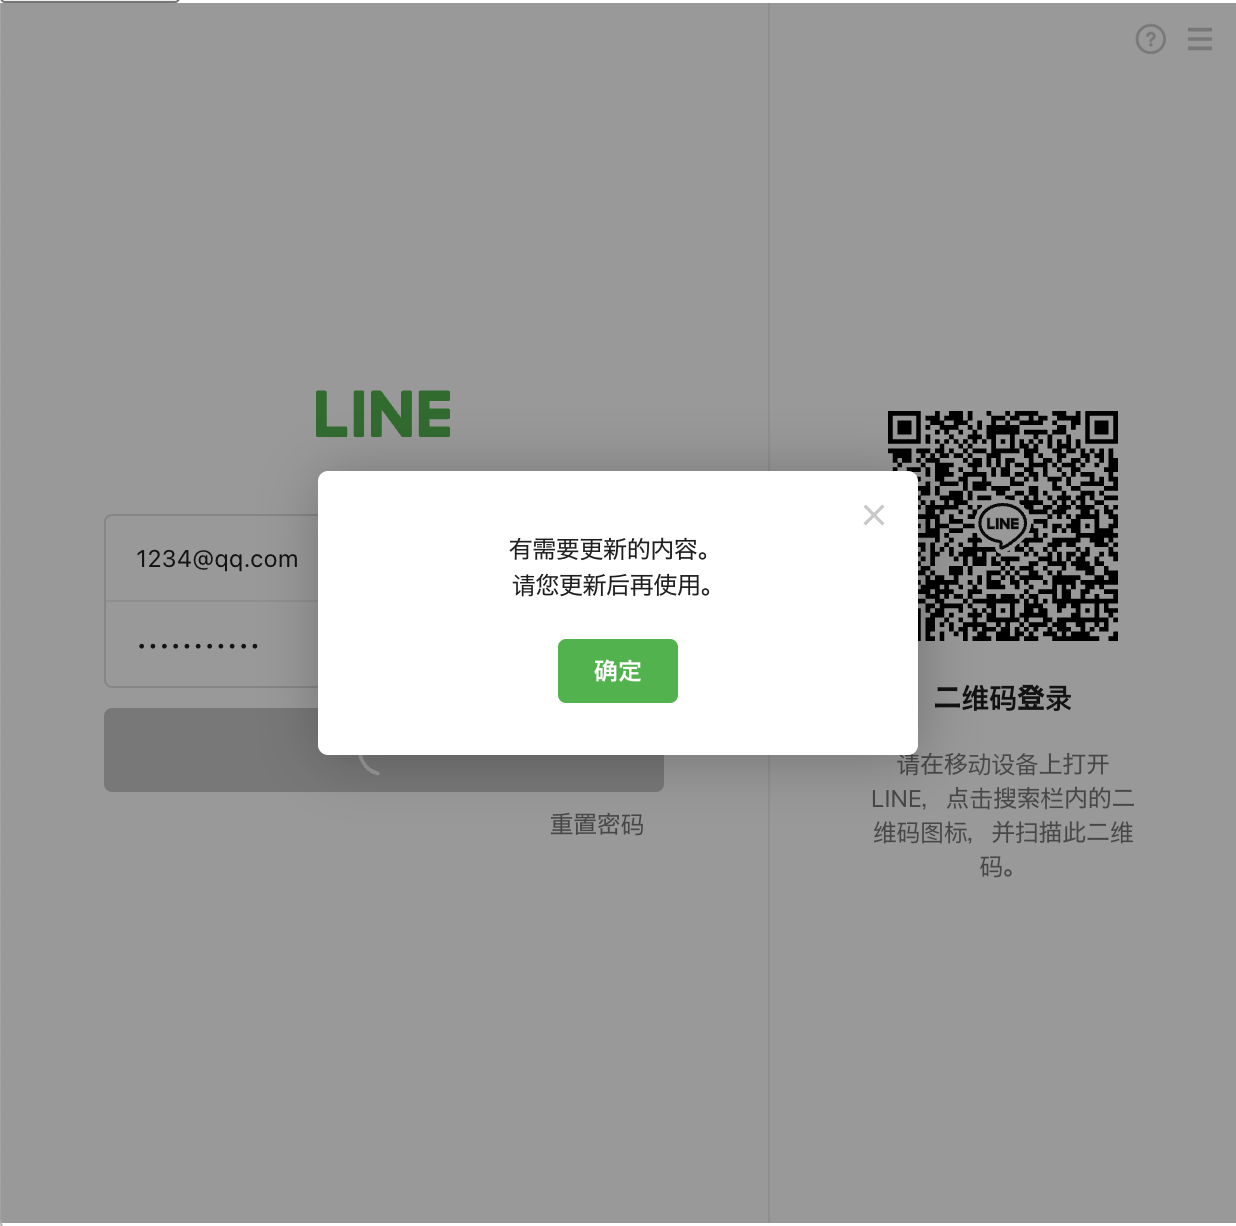
出现原因:
- 插件版本过低,官方已经发布了新的插件,需要手动更新一下插件
测试方法:
- 随便输入一个帐号名称和密码,比如用户名: 123@qq.com 密码:1234
- 如果 line 插件提示“有需要更新的内容,请更新后再使用”,则你需要按照以下的方式进行更新插件
获取 chrome 插件源码
- chrome 输入地址
chrome://extensions/确认你已经安装了 line 插件
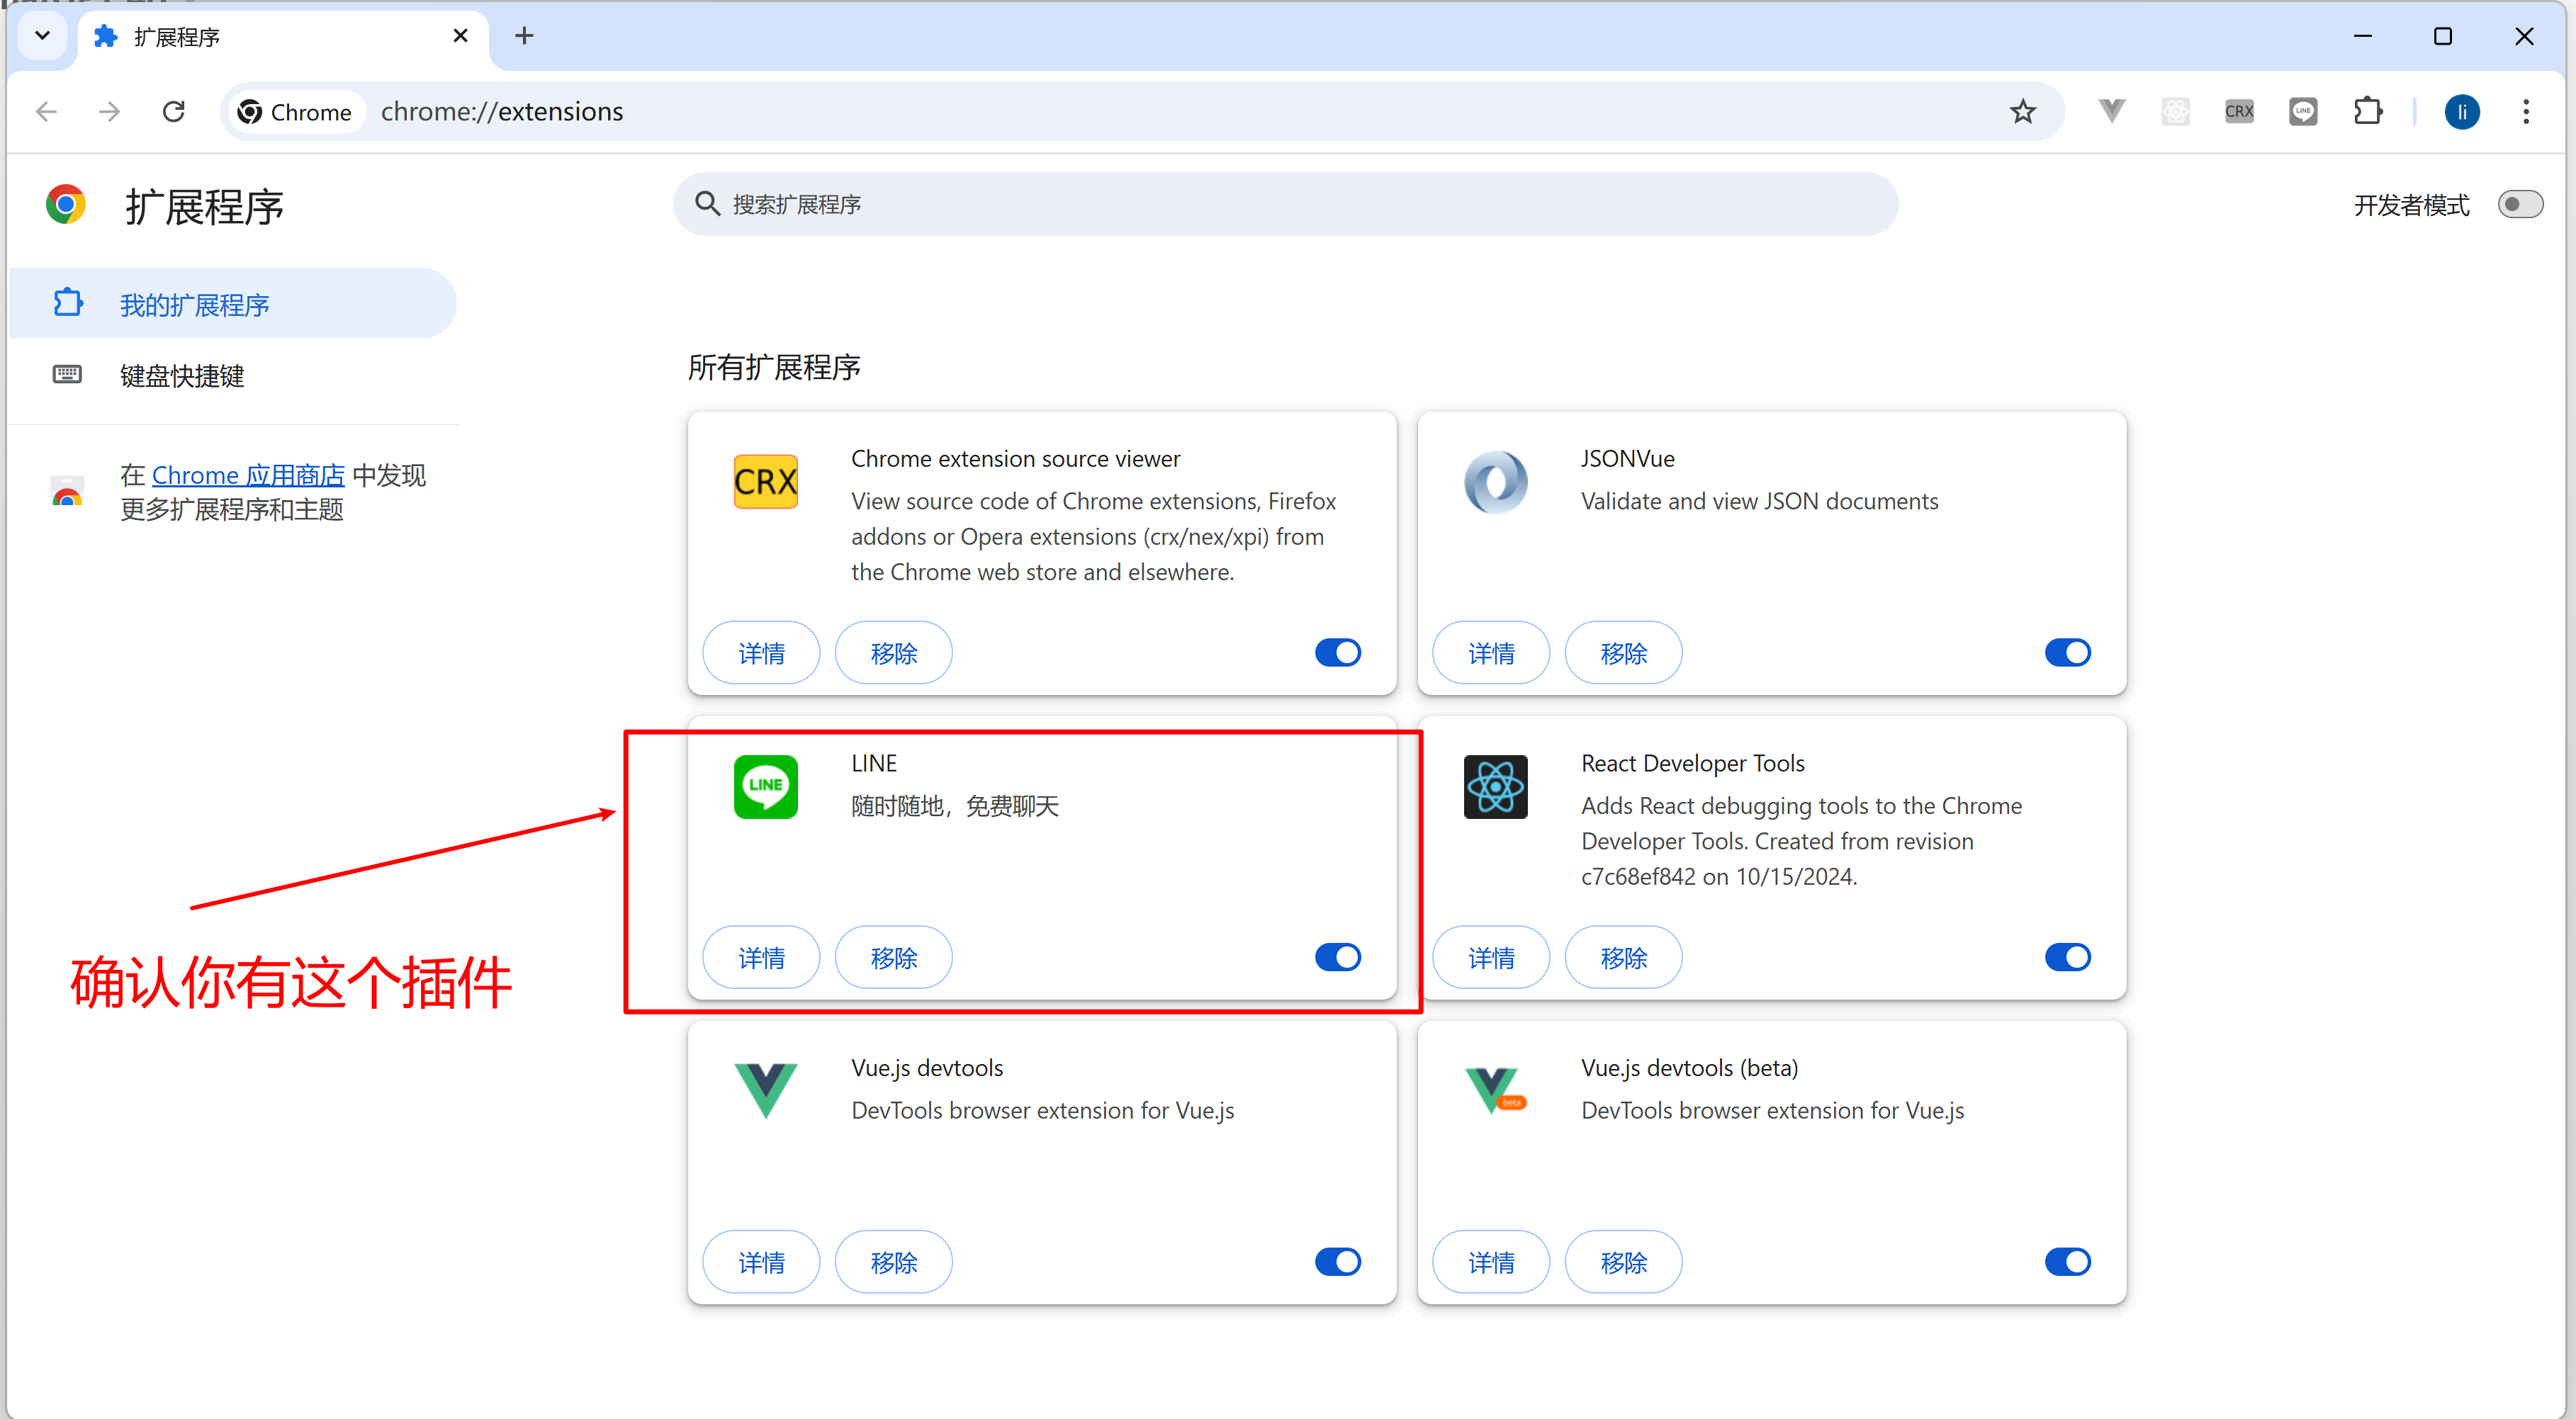
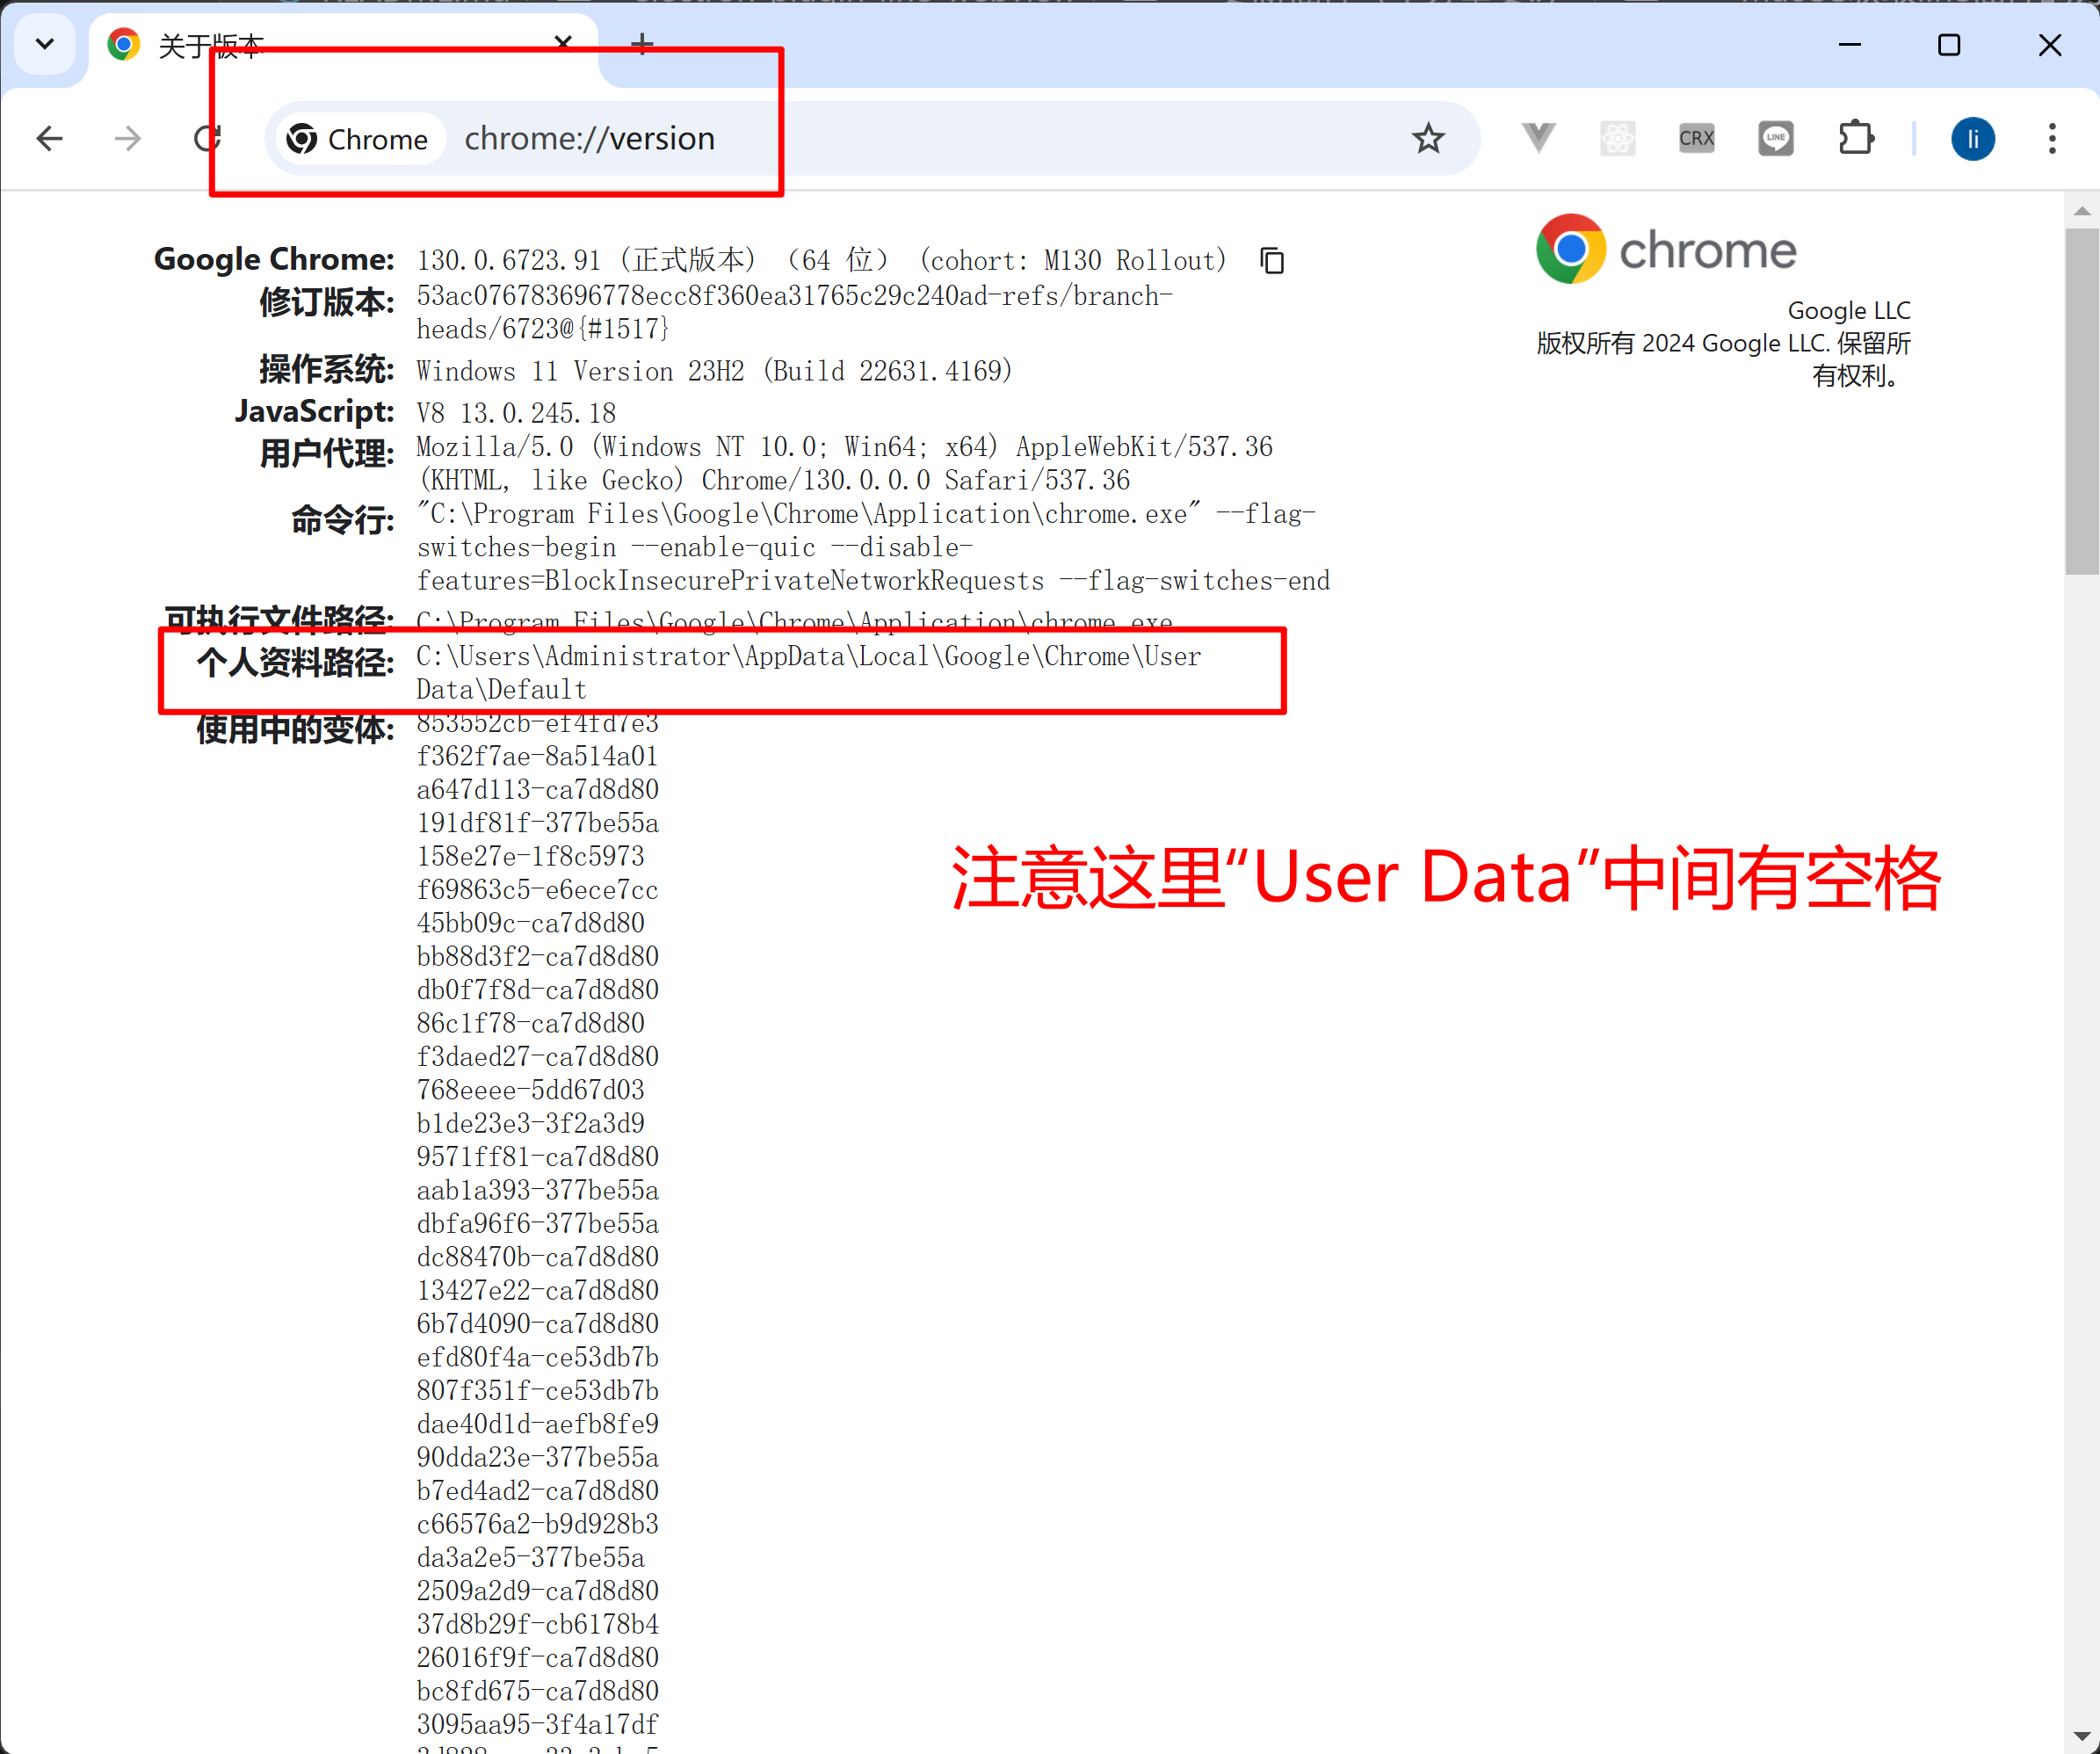
- chrome 浏览器输入: chrome://version/
查看 个人资料路径
- 打开插件目录
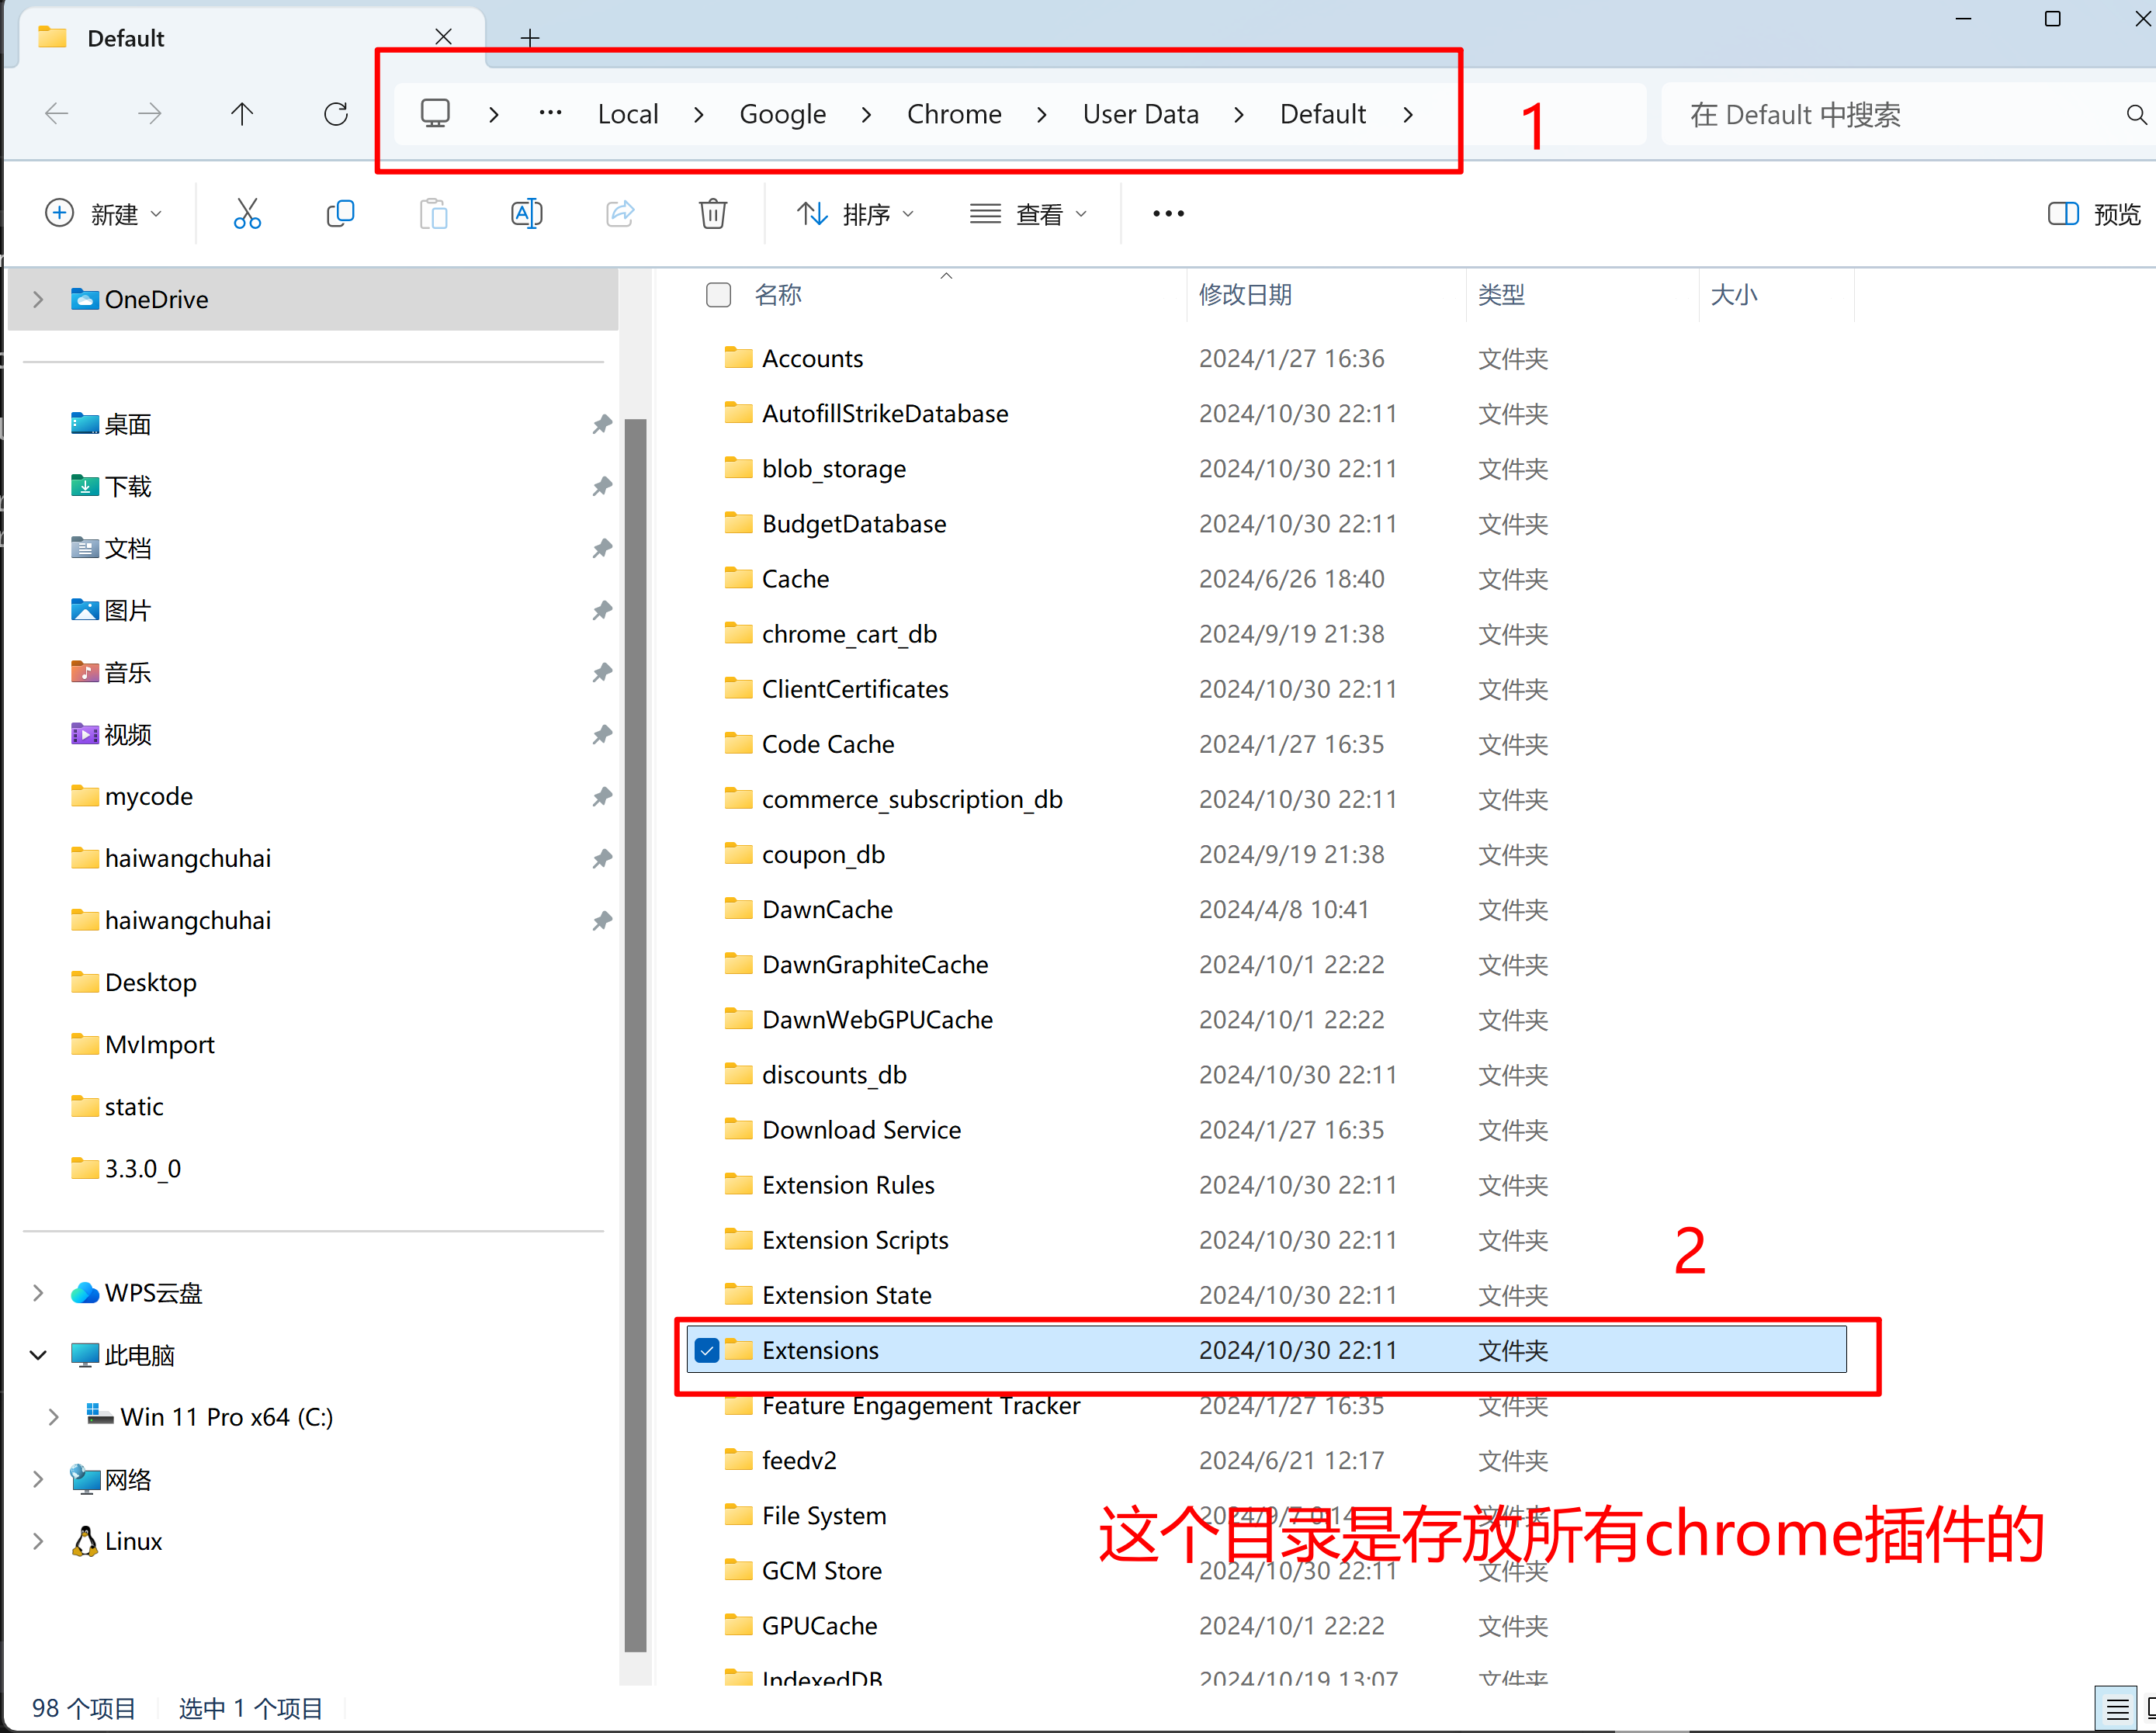
C:\Users\Administrator\AppData\Local\Google\Chrome\User Data\Default这里换成你自己的
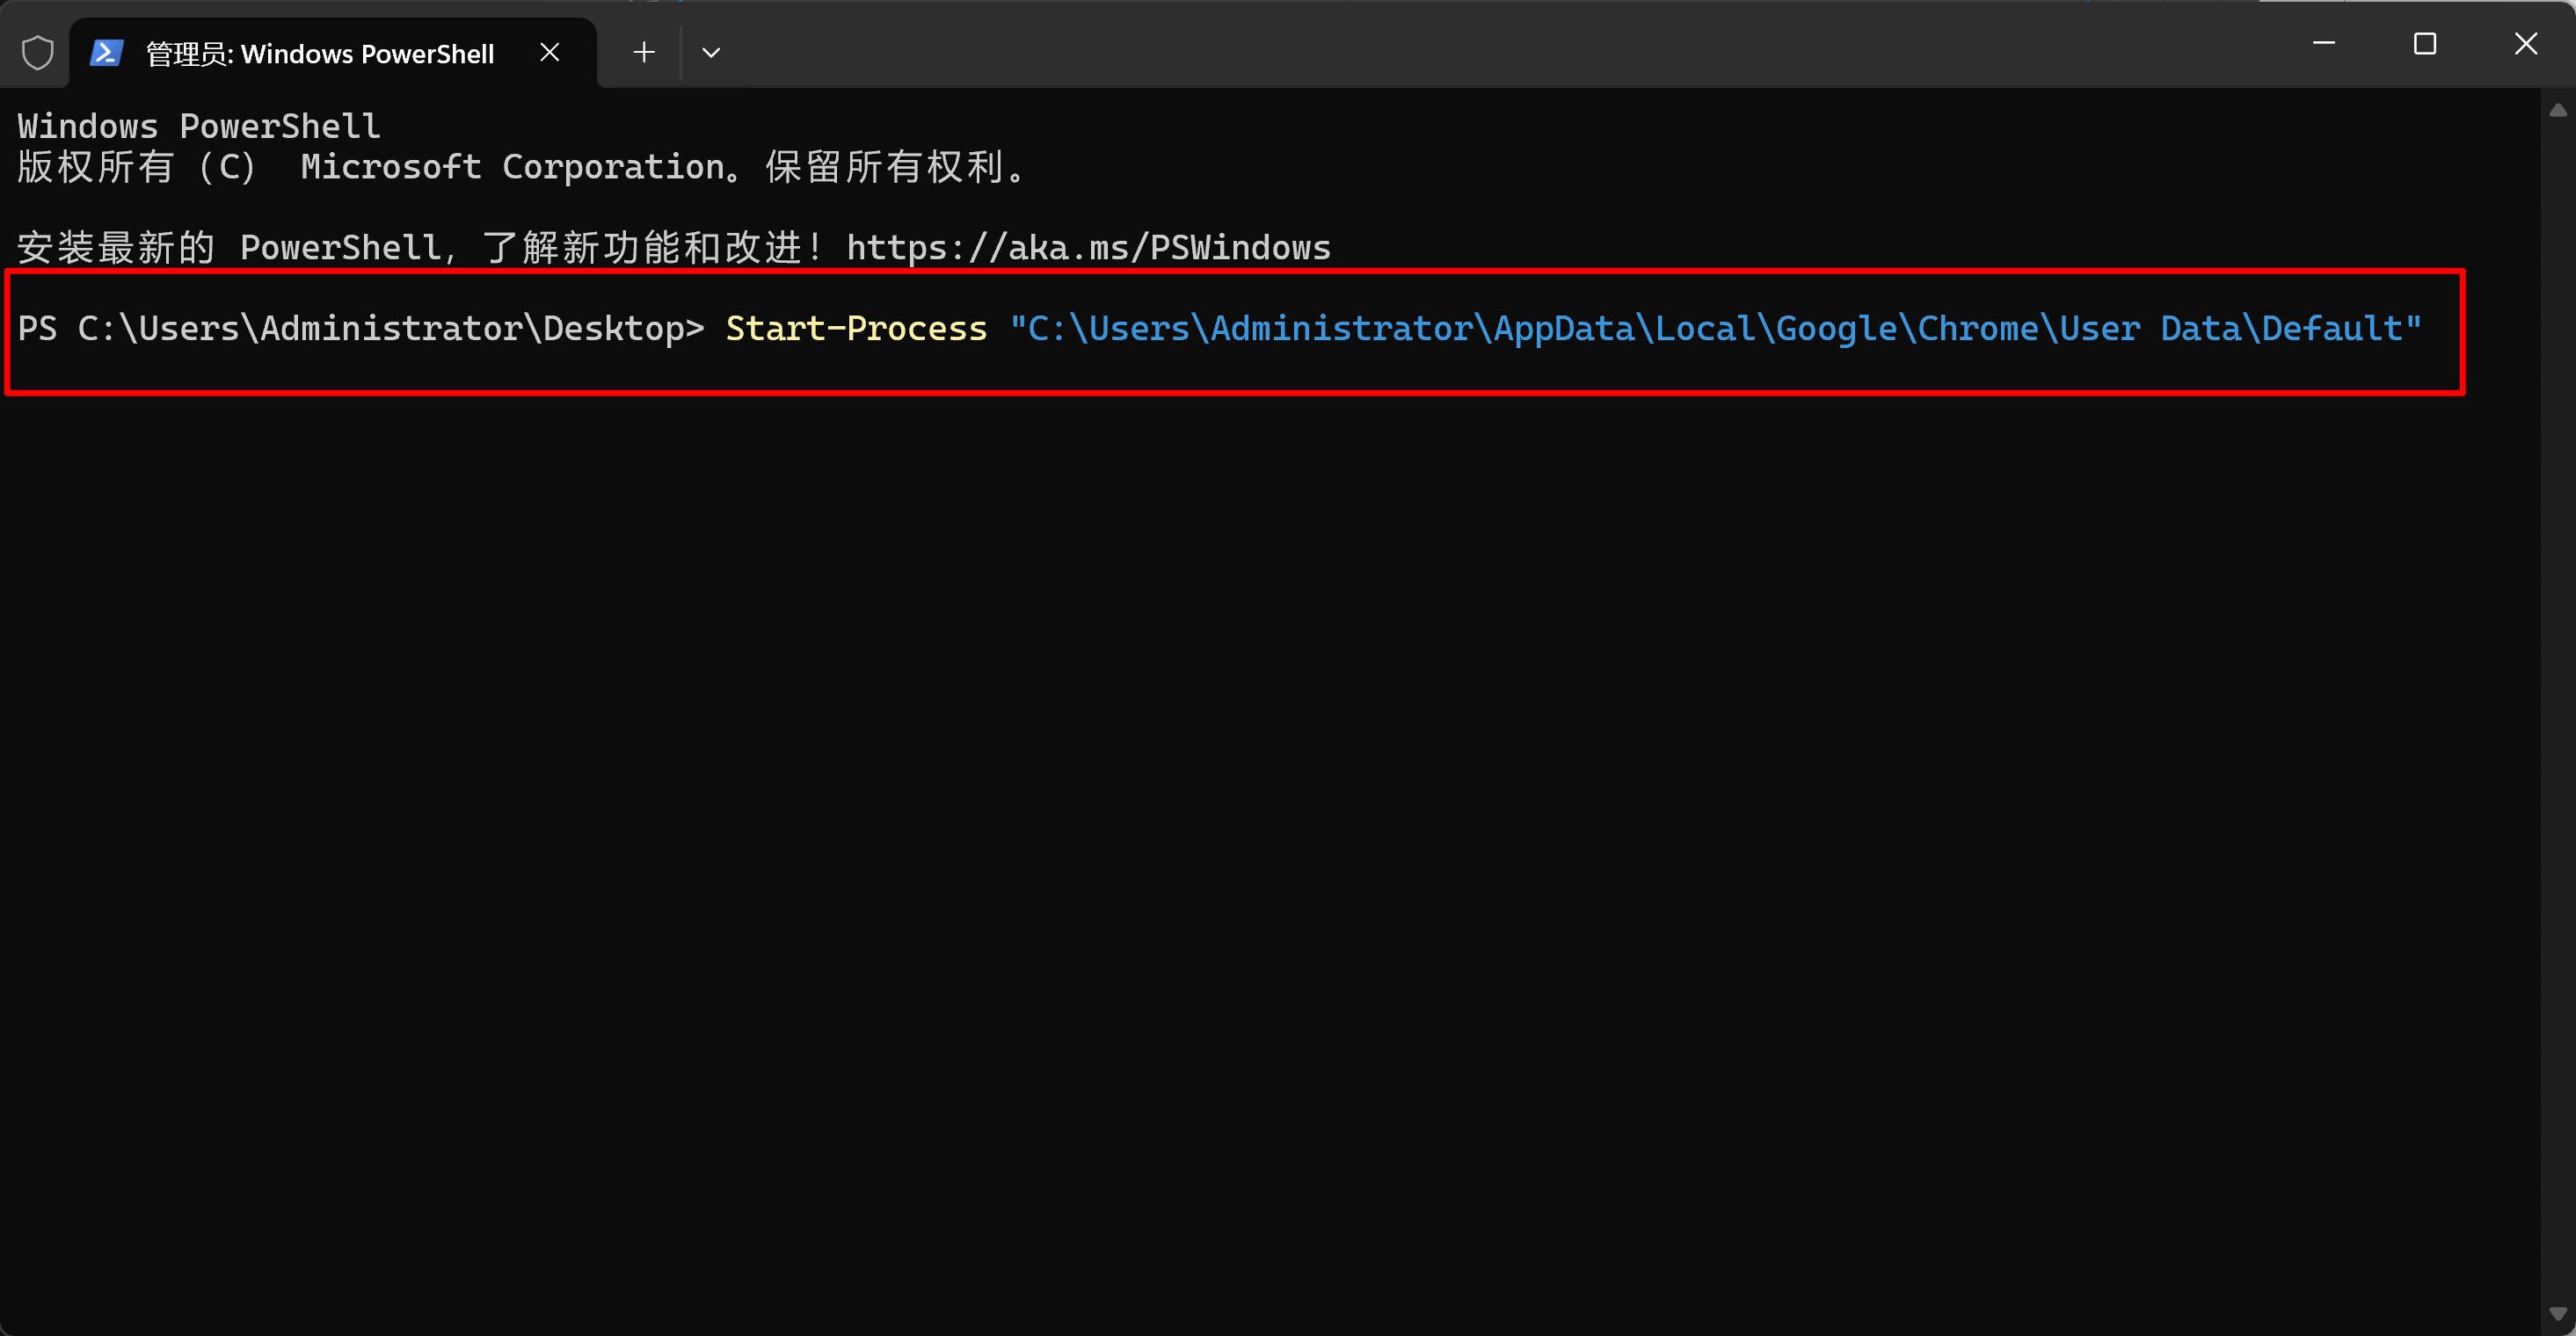
也可以通过 PowerShell 终端这样子打开对应的目录
Start-Process "C:\Users\Administrator\AppData\Local\Google\Chrome\User Data\Default"输入上面命令回车 就会打开对应的目录
- 进入插件目录
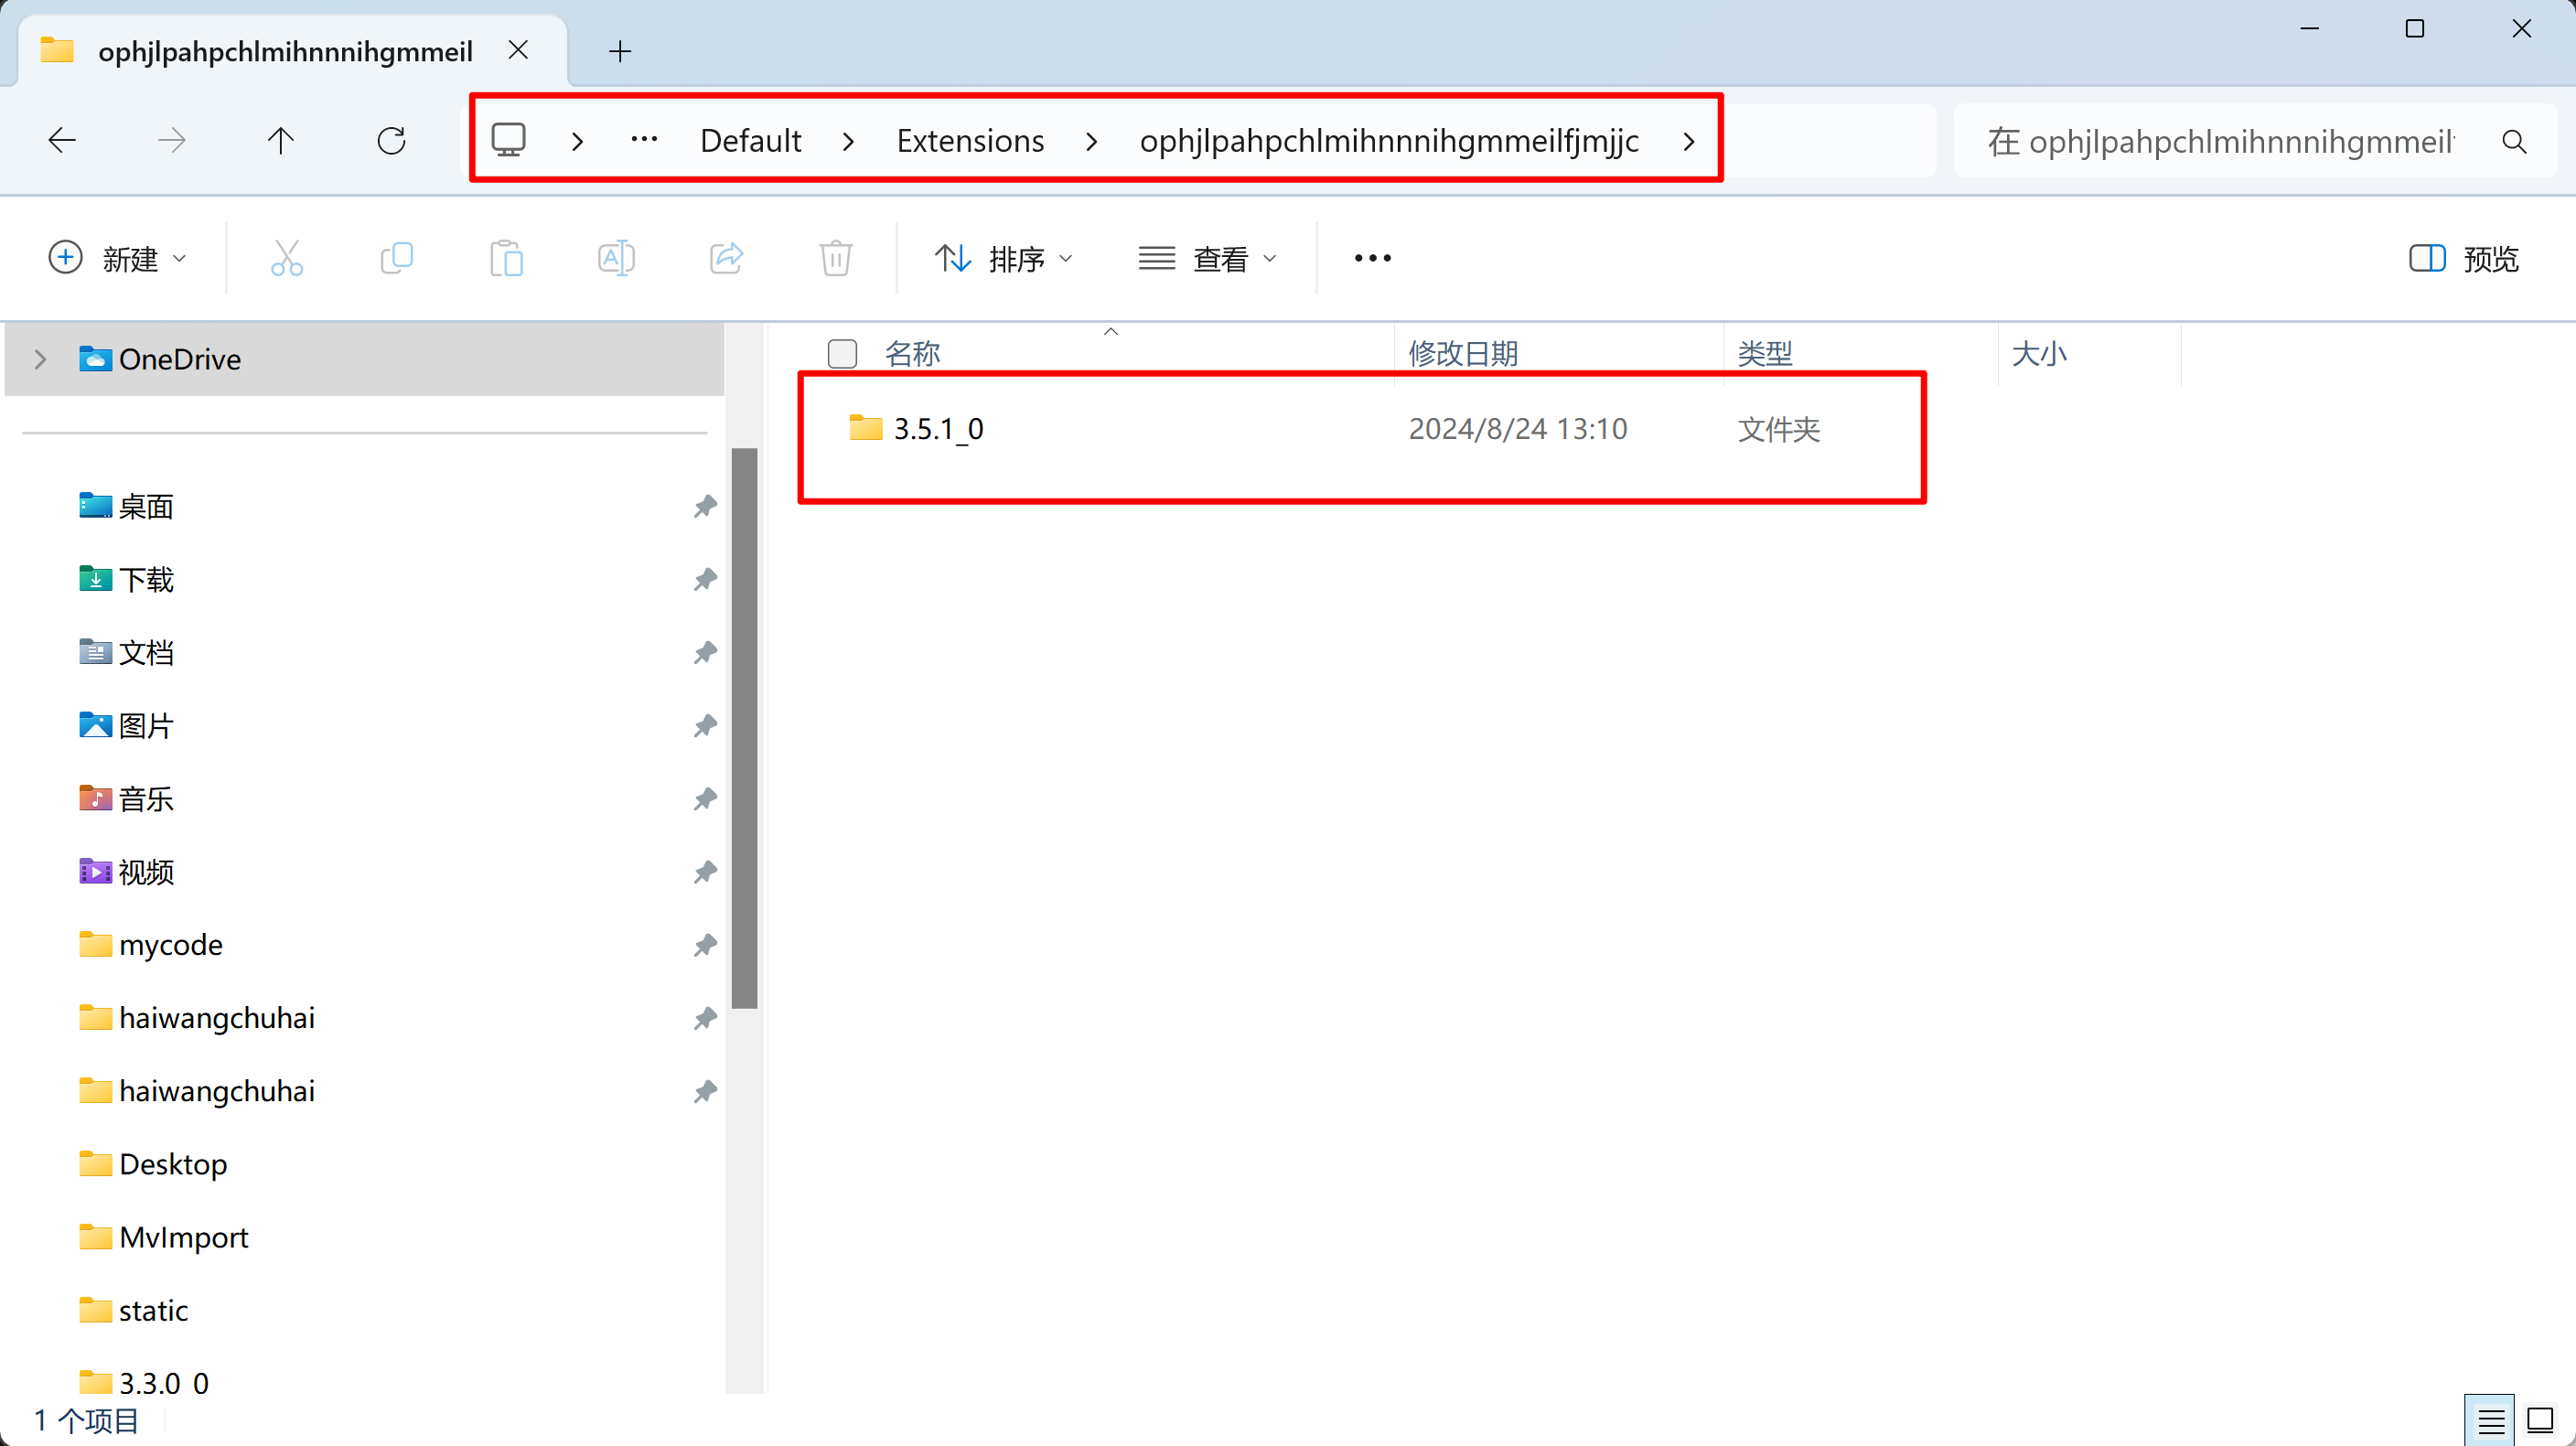
Extensions/ophjlpahpchlmihnnnihgmmeilfjmjjc
- 把这个
3.5.1_0目录内容替换一下项目的内容就可以了
加载 line 插件,可能出现下面错误
控制台错误
Manifest contains a differential_fingerprint key that will be overridden on extension update.
Permission 'downloads' is unknown or URL pattern is malformed.
Permission 'notifications' is unknown or URL pattern is malformed.
Permission 'cookies' is unknown or URL pattern is malformed.
Manifest contains a differential_fingerprint key that will be overridden on extension update. Permission 'downloads' is unknown or URL pattern is malformed. Permission 'notifications' is unknown or URL pattern is malformed. Permission 'cookies' is unknown or URL pattern is malformed.

原因分析
Manifest 文件问题:
- 无效或不支持的权限:错误信息中提到
'downloads'、'notifications'、'cookies'等权限未知或 URL 模式格式错误。这可能是由于这些权限在当前 Electron 版本或插件的 manifest 版本中不被支持。(electron 应用本身就支持这些权限) differential_fingerprint键:此键可能是为 Chrome 扩展设计的,Electron 可能不需要或不支持此键,导致警告。
解决方法
检查和修改 manifest.json 文件:
- 移除或修正不支持的权限:
- 打开插件目录下的
manifest.json文件。 - 查找
permissions字段,移除或修正downloads、notifications、cookies等权限。例如:json{ "permissions": [ // 移除不支持的权限 ], ... }
- 打开插件目录下的
- 移除不必要的键:
- 移除
differential_fingerprint键,如果 Electron 不需要它。
- 移除
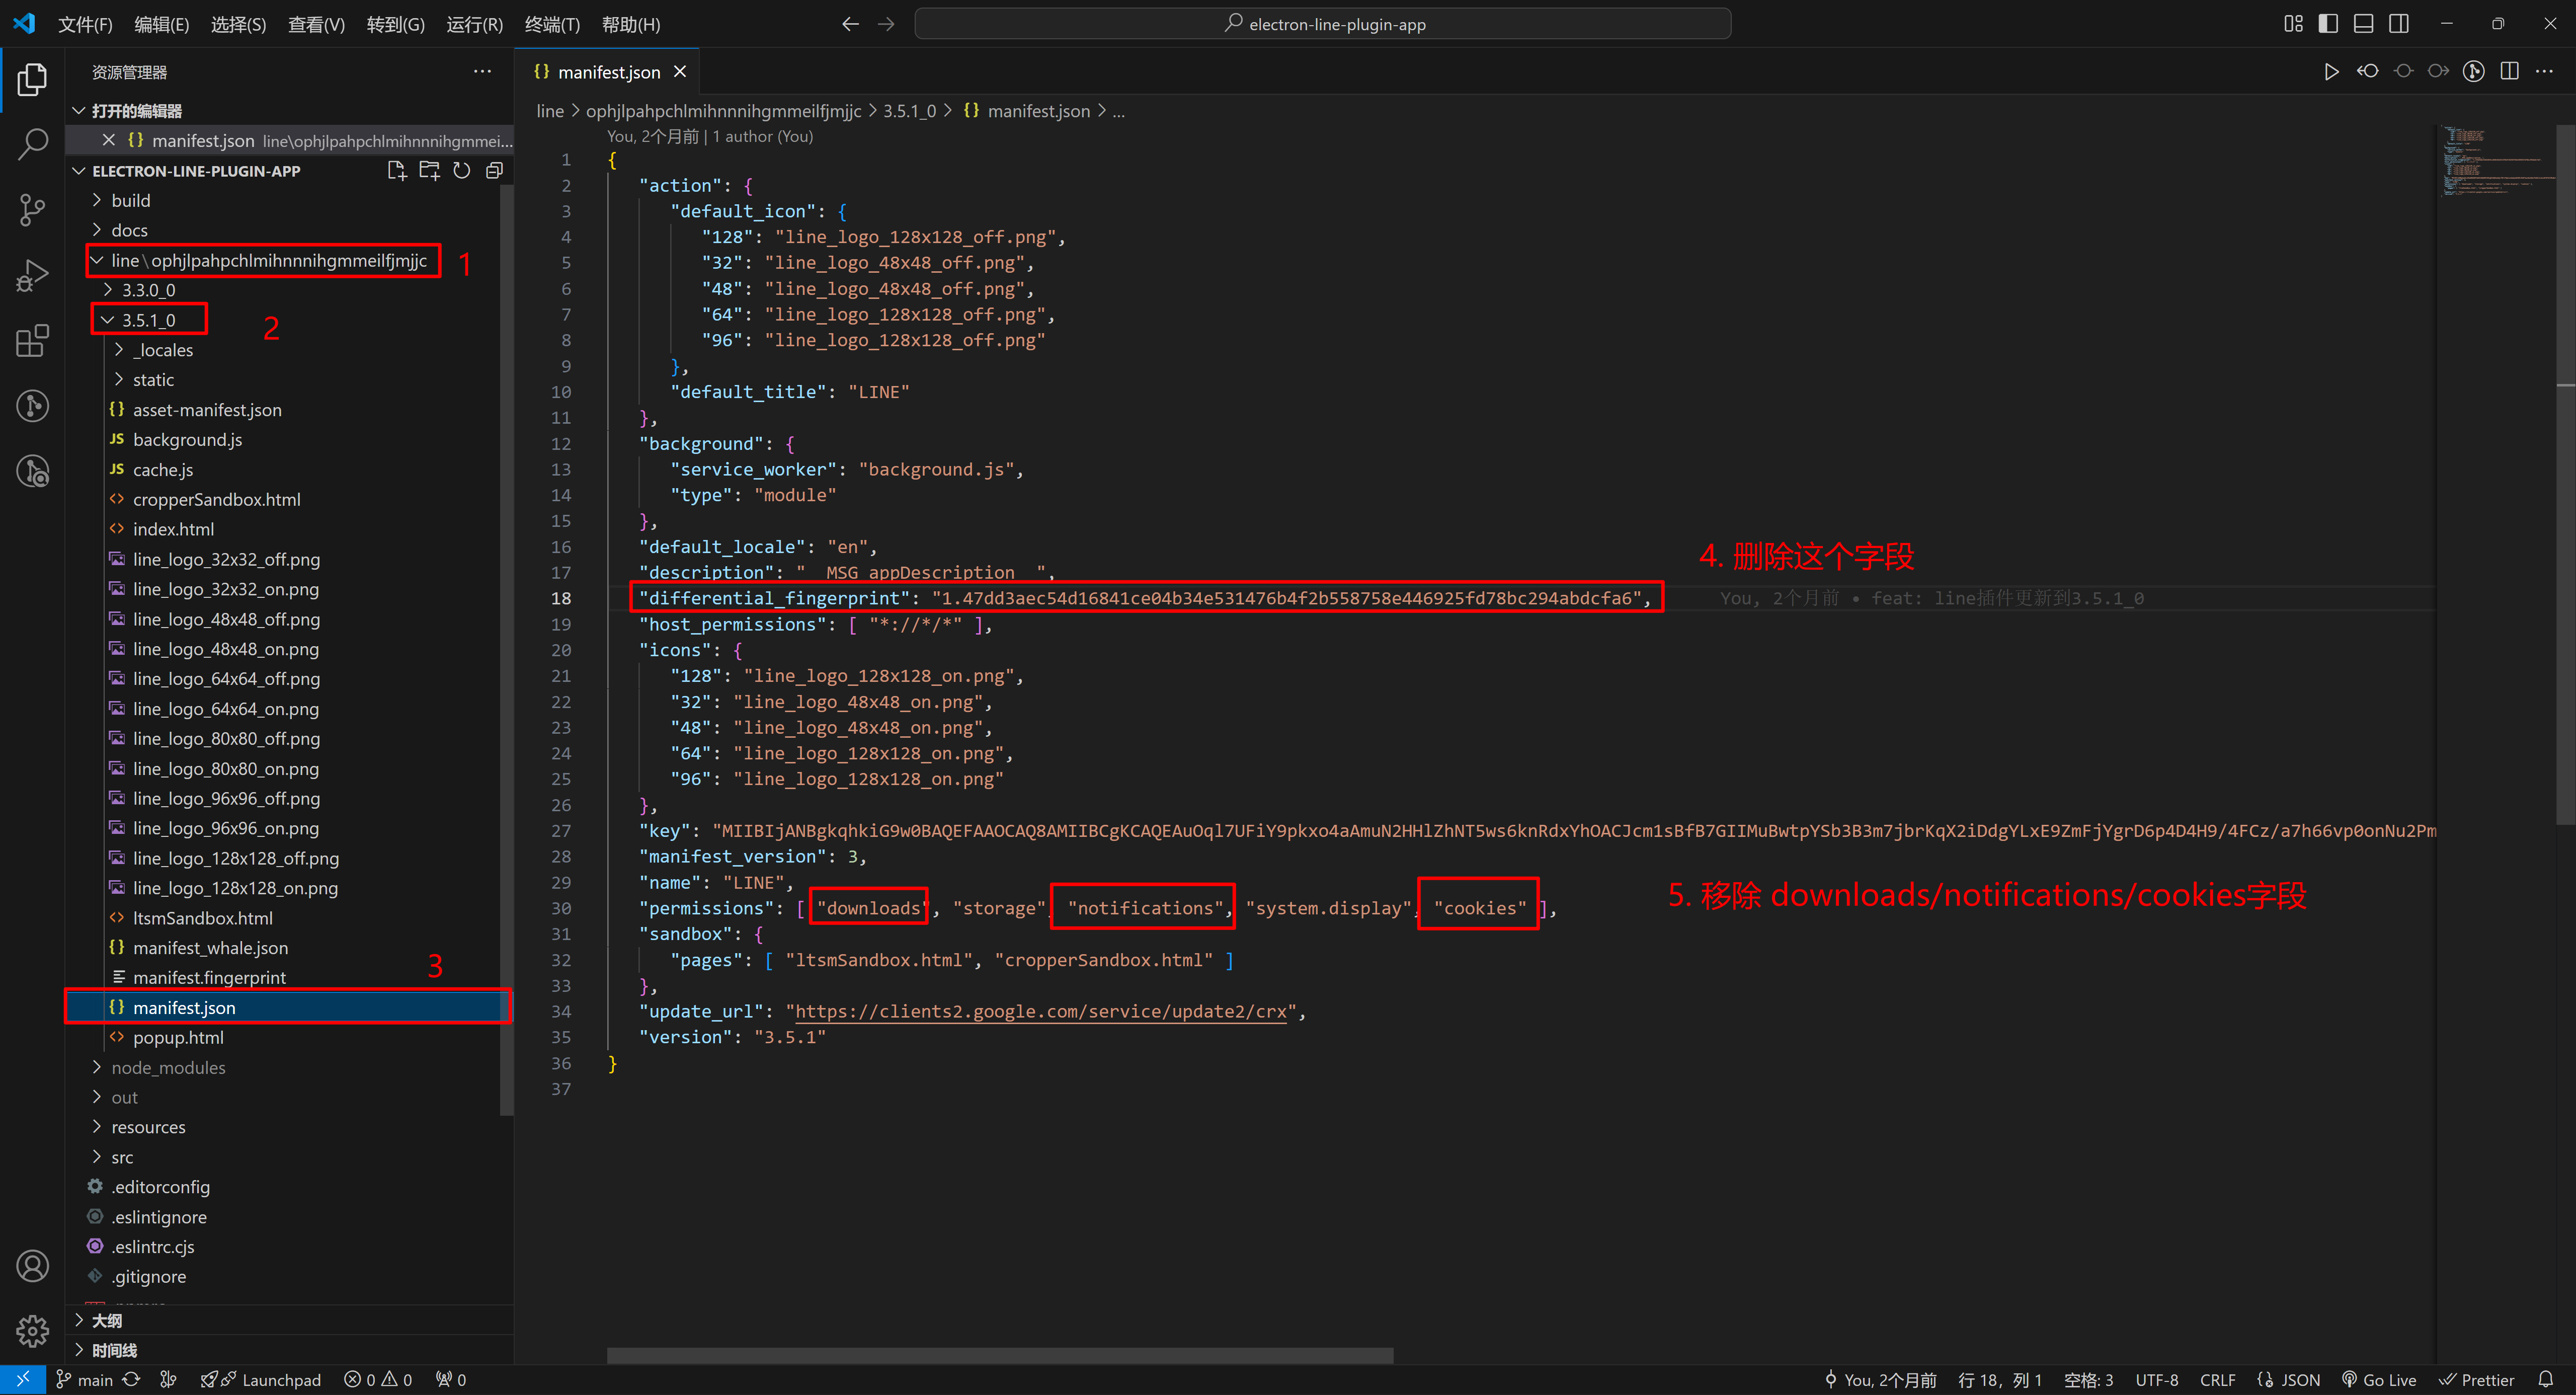
如何修复
- 打开
manifest.json文件 - 移除不支持的权限
在我们的例子这个目录line/ophjlpahpchlmihnnnihgmmeilfjmjjc/3.5.1_0/manifest.json
修改如下
{
   "action": {
      "default_icon": {
         "128": "line_logo_128x128_off.png",
         "32": "line_logo_48x48_off.png",
         "48": "line_logo_48x48_off.png",
         "64": "line_logo_128x128_off.png",
         "96": "line_logo_128x128_off.png"
      },
      "default_title": "LINE"
   },
   "background": {
      "service_worker": "background.js",
      "type": "module"
   },
   "default_locale": "en",
   "description": "__MSG_appDescription__",
   "differential_fingerprint": "1.47dd3aec54d16841ce04b34e531476b4f2b558758e446925fd78bc294abdcfa6",
   "host_permissions": [ "*://*/*" ],
   "icons": {
      "128": "line_logo_128x128_on.png",
      "32": "line_logo_48x48_on.png",
      "48": "line_logo_48x48_on.png",
      "64": "line_logo_128x128_on.png",
      "96": "line_logo_128x128_on.png"
   },
   "key": "MIIBIjANBgkqhkiG9w0BAQEFAAOCAQ8AMIIBCgKCAQEAuOql7UFiY9pkxo4aAmuN2HHlZhNT5ws6knRdxYhOACJcm1sBfB7GIIMuBwtpYSb3B3m7jbrKqX2iDdgYLxE9ZmFjYgrD6p4D4H9/4FCz/a7h66vp0onNu2PmbZOEnpZKeCgUGMDDcXk673R8tPfkBbmuzQ0rvpc1Z8hWgHo1jLtnjpkTlH4vzu9FGRQFsCuqUzJPjoPpa2rozvTPpmiO2qfcqH3FJoGJbKwXIPZ74JI8cY//o6xFDVhugveN1VqoGZA8PsVliAa5fgBqDohfiv36xkuD88BqynKNn00hGibuXrj4L6mnR+9I68dhwAiXY01gihtI6KhbekToLfoJmwIDAQAB",
   "manifest_version": 3,
   "name": "LINE",
   "permissions": [ "downloads", "storage", "notifications", "system.display", "cookies" ],
   "permissions": [ "storage", "system.display" ],
   "sandbox": {
      "pages": [ "ltsmSandbox.html", "cropperSandbox.html" ]
   },
   "update_url": "https://clients2.google.com/service/update2/crx",
   "version": "3.5.1"
}
截图:
最后,保存并重新加载插件:
- 保存修改后的
manifest.json文件。 - 重新启动 Electron 应用,即可解决问题。
